Solihull Arts Complex
- Whats-On
- Cc-Design-And-Create-A-Lino-Print
For those not familiar, lino printing is like a grown up version of the fun potato printing we all did as a child! Simply design, lay out, then cut or scrape a design into a purpose made piece of soft lino or gel and then using printing ink, re-use the design using as many different layers or colours as you wish, as many times as you like. Suitable for cards, gifts, pictures… pretty much anything.
Really complex lino printing takes practise, skill and patience – the results are utterly beautiful, (See work of Angie Lewin or Melvyn Evans) but anyone can design and create simple prints with relatively few materials. All equipment is available online or from high street craft shops. Older children can lino print, but the actual cutting uses small blades – so best for adults to do this part for younger children.
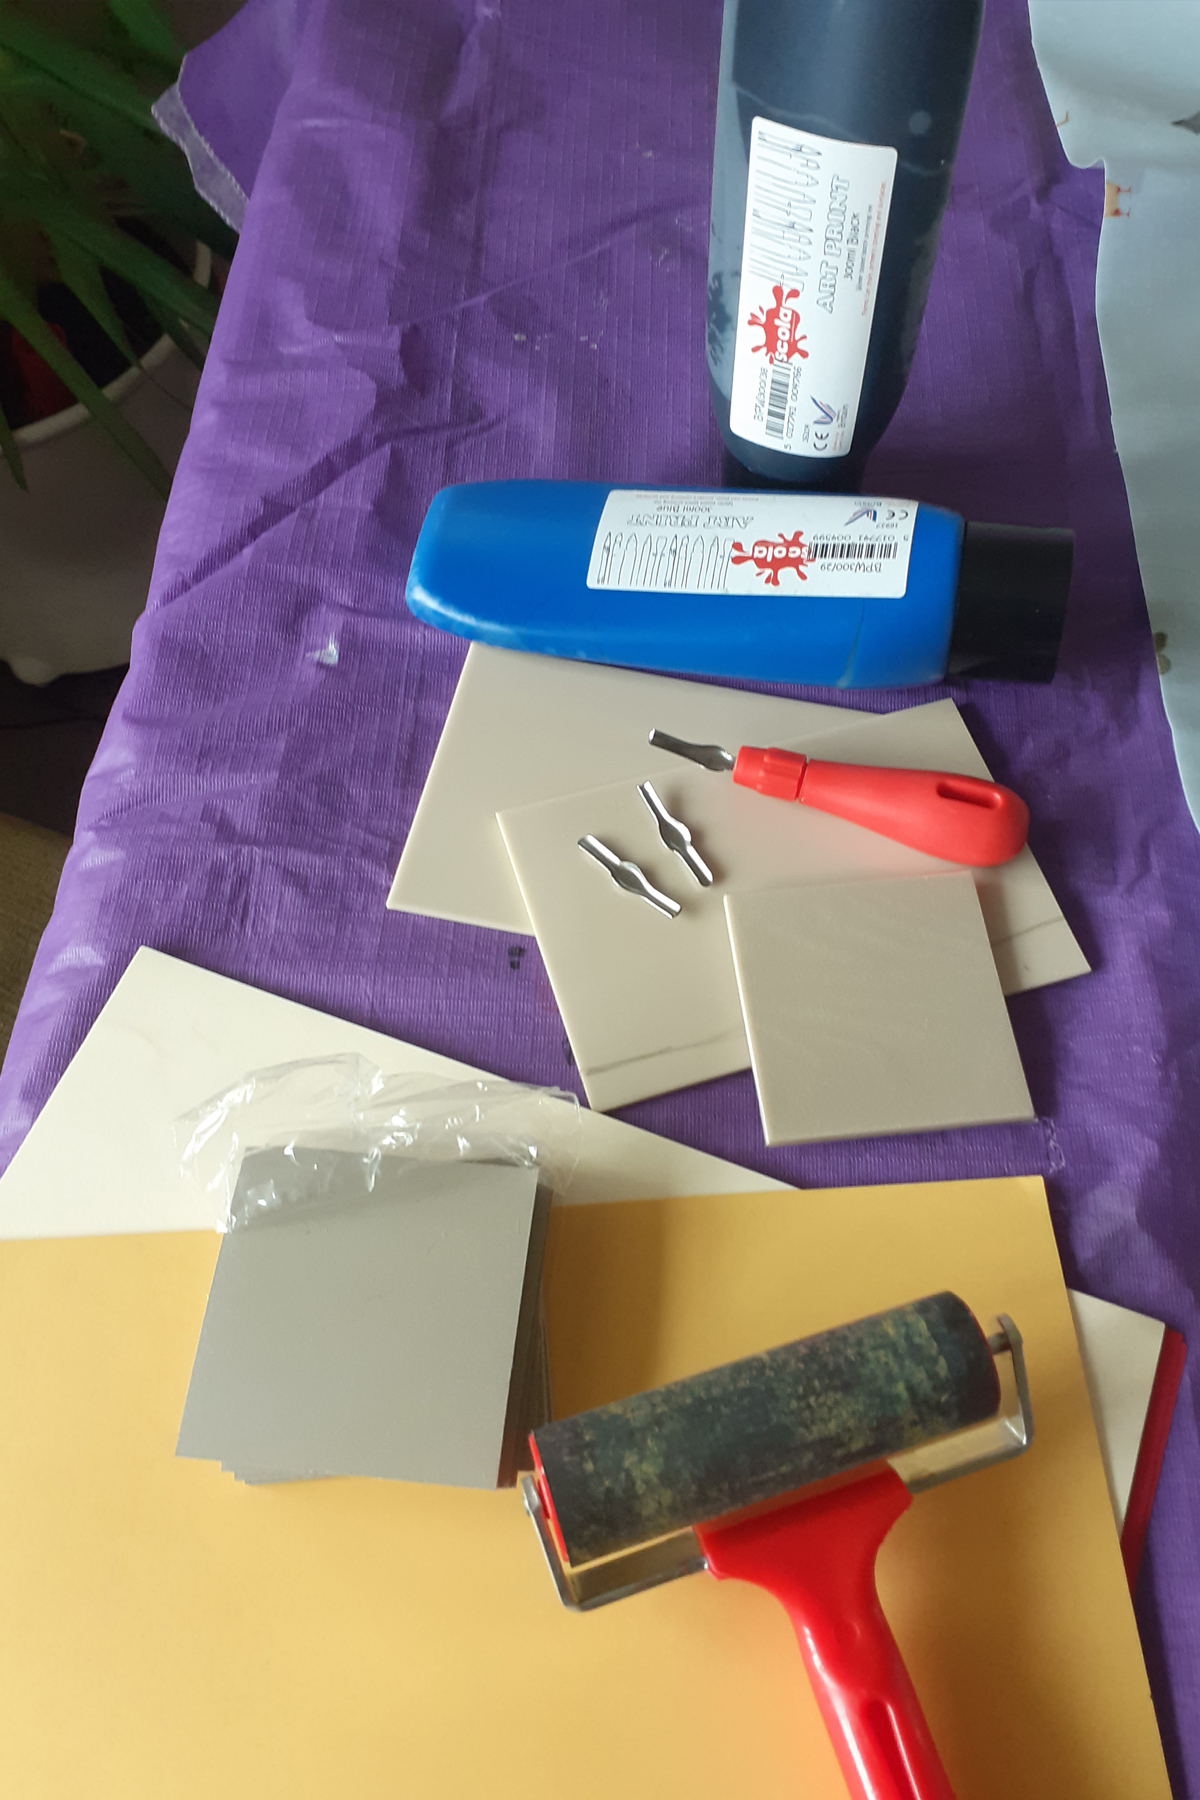
You will need:
An apron, polythene cover on table
Pieces of craft lino (inc. 1 for practise)
A printing roller & flat plastic surface to roller onto
Block printing ink
Cutters (usually 1 pen + multi nibs)
Wooden spoon
Paper, card or smooth fabric to print on
Pencil for design
Tracing paper (optional)
Getting Started
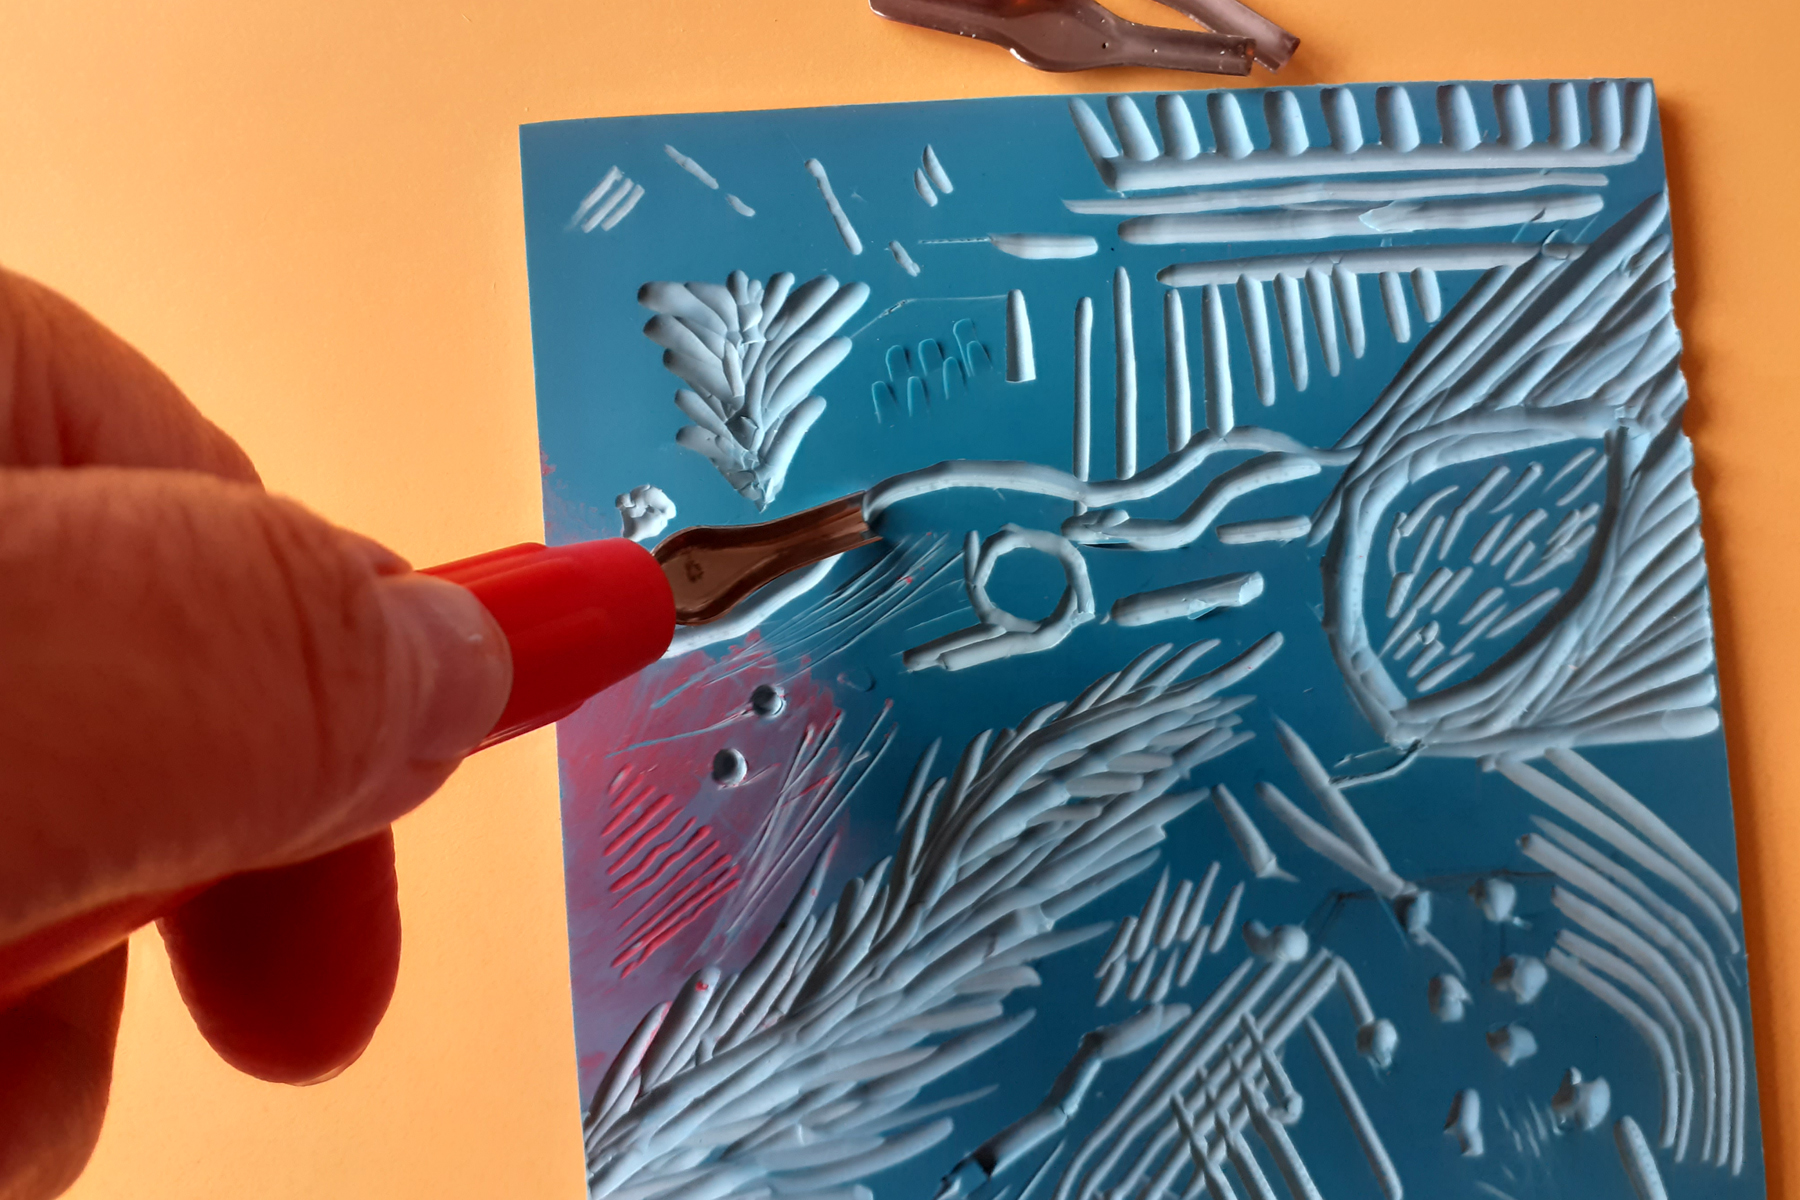
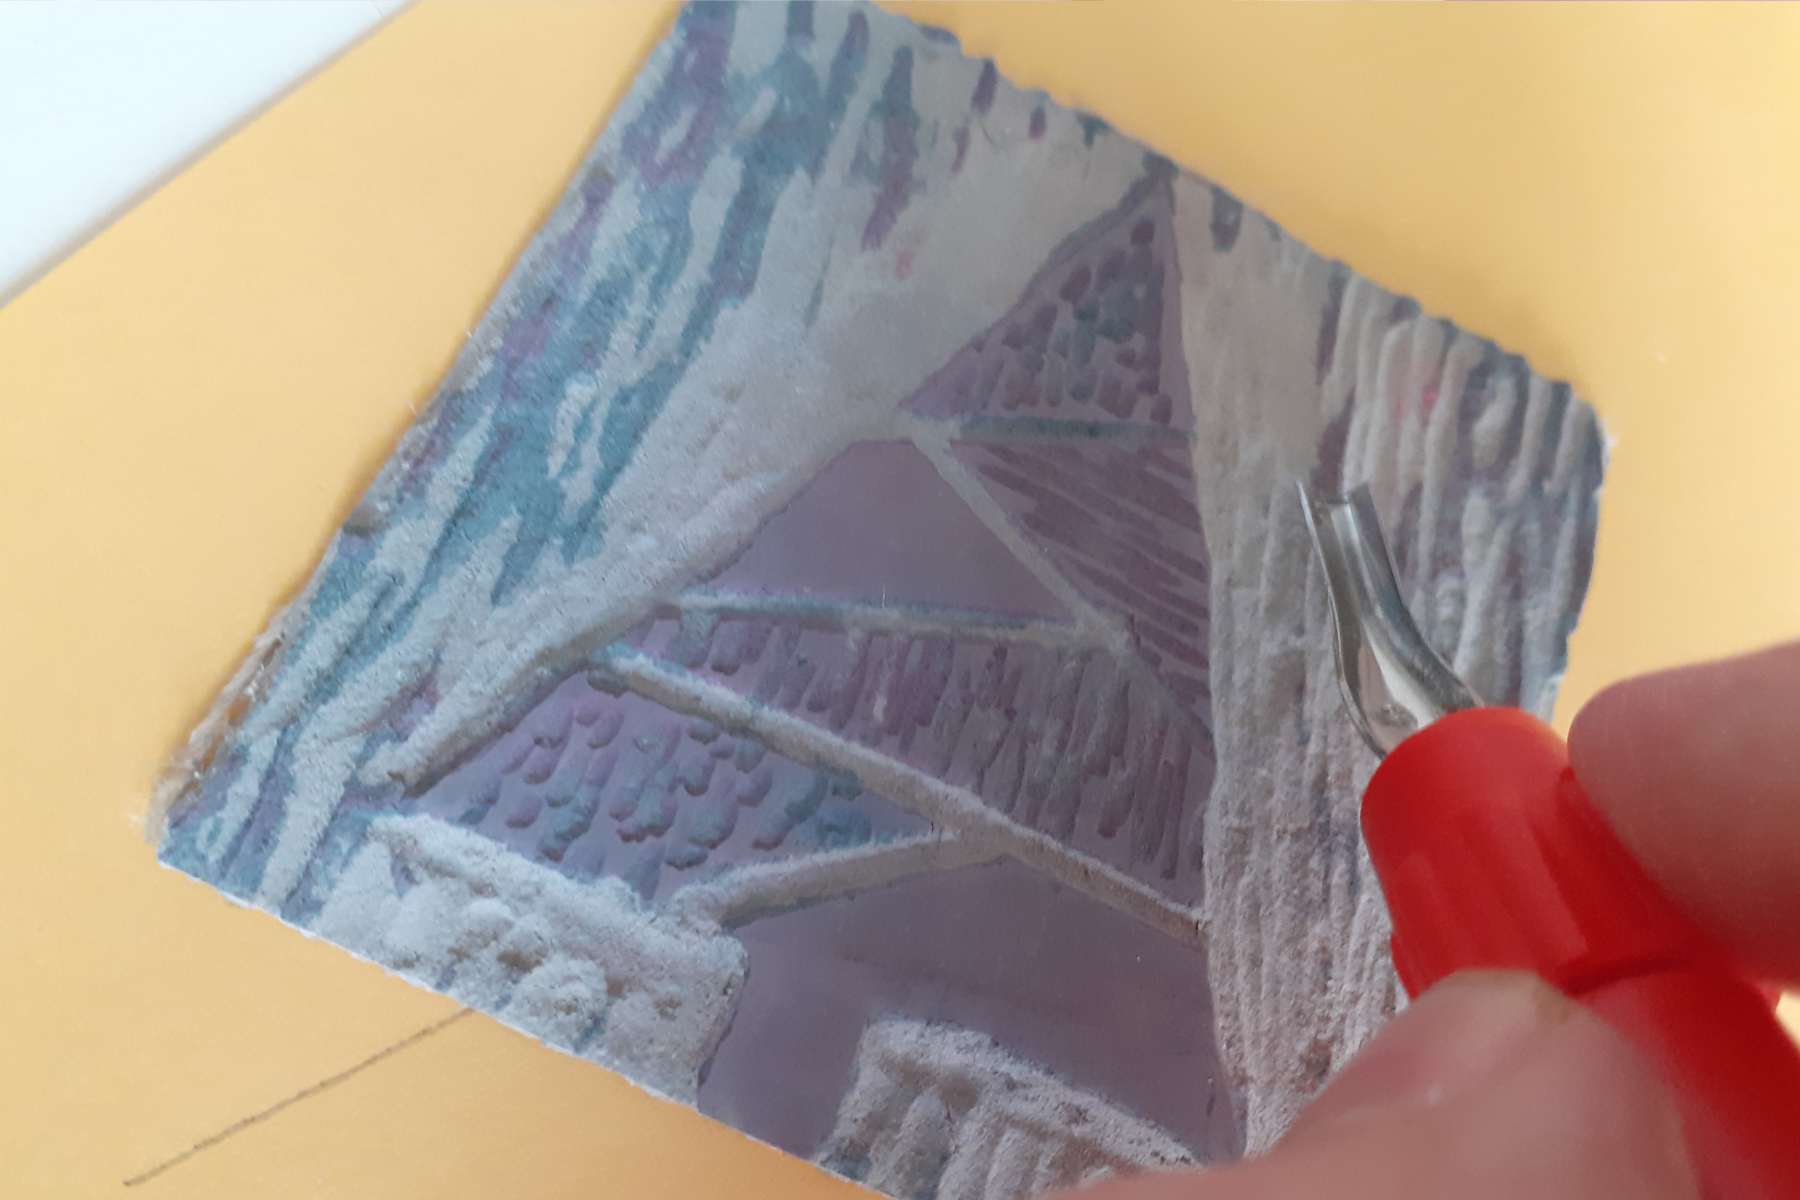
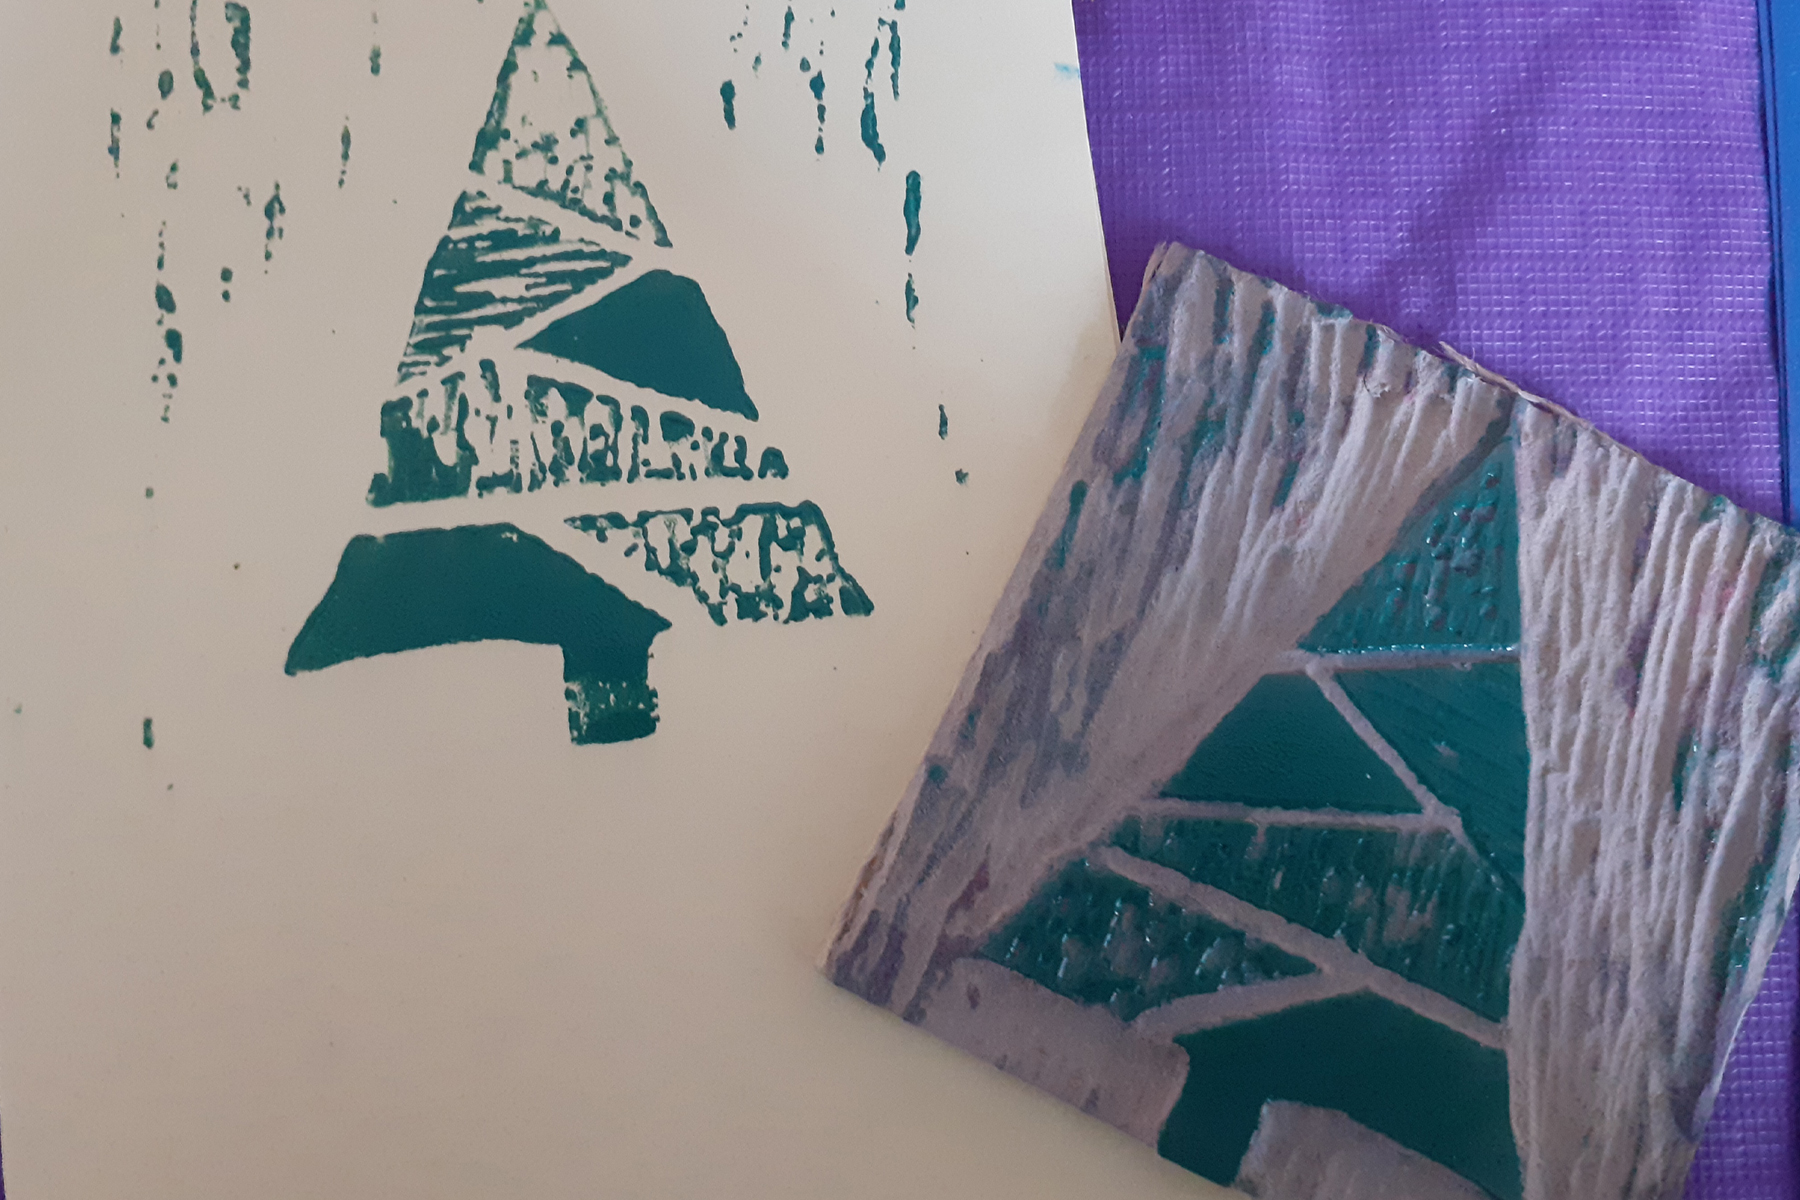
First, get used to your tools, experiment in mark making by testing the pressure needed to cut, practise different shapes and thicknesses of line, of dots, of scrapes etc. Remember that lino printing works in reverse, so if you cut out a line on your block, it will not be seen on your print, so if you want a line, you need to scrape out AROUND the line, so that the line stands out. The empty space needs to be scraped out, so you can experiment with the wider nibs that take out more line.
Remember once it’s been cut out, its gone! You can’t put it back in! (this is why we start simple and work up to more complex).
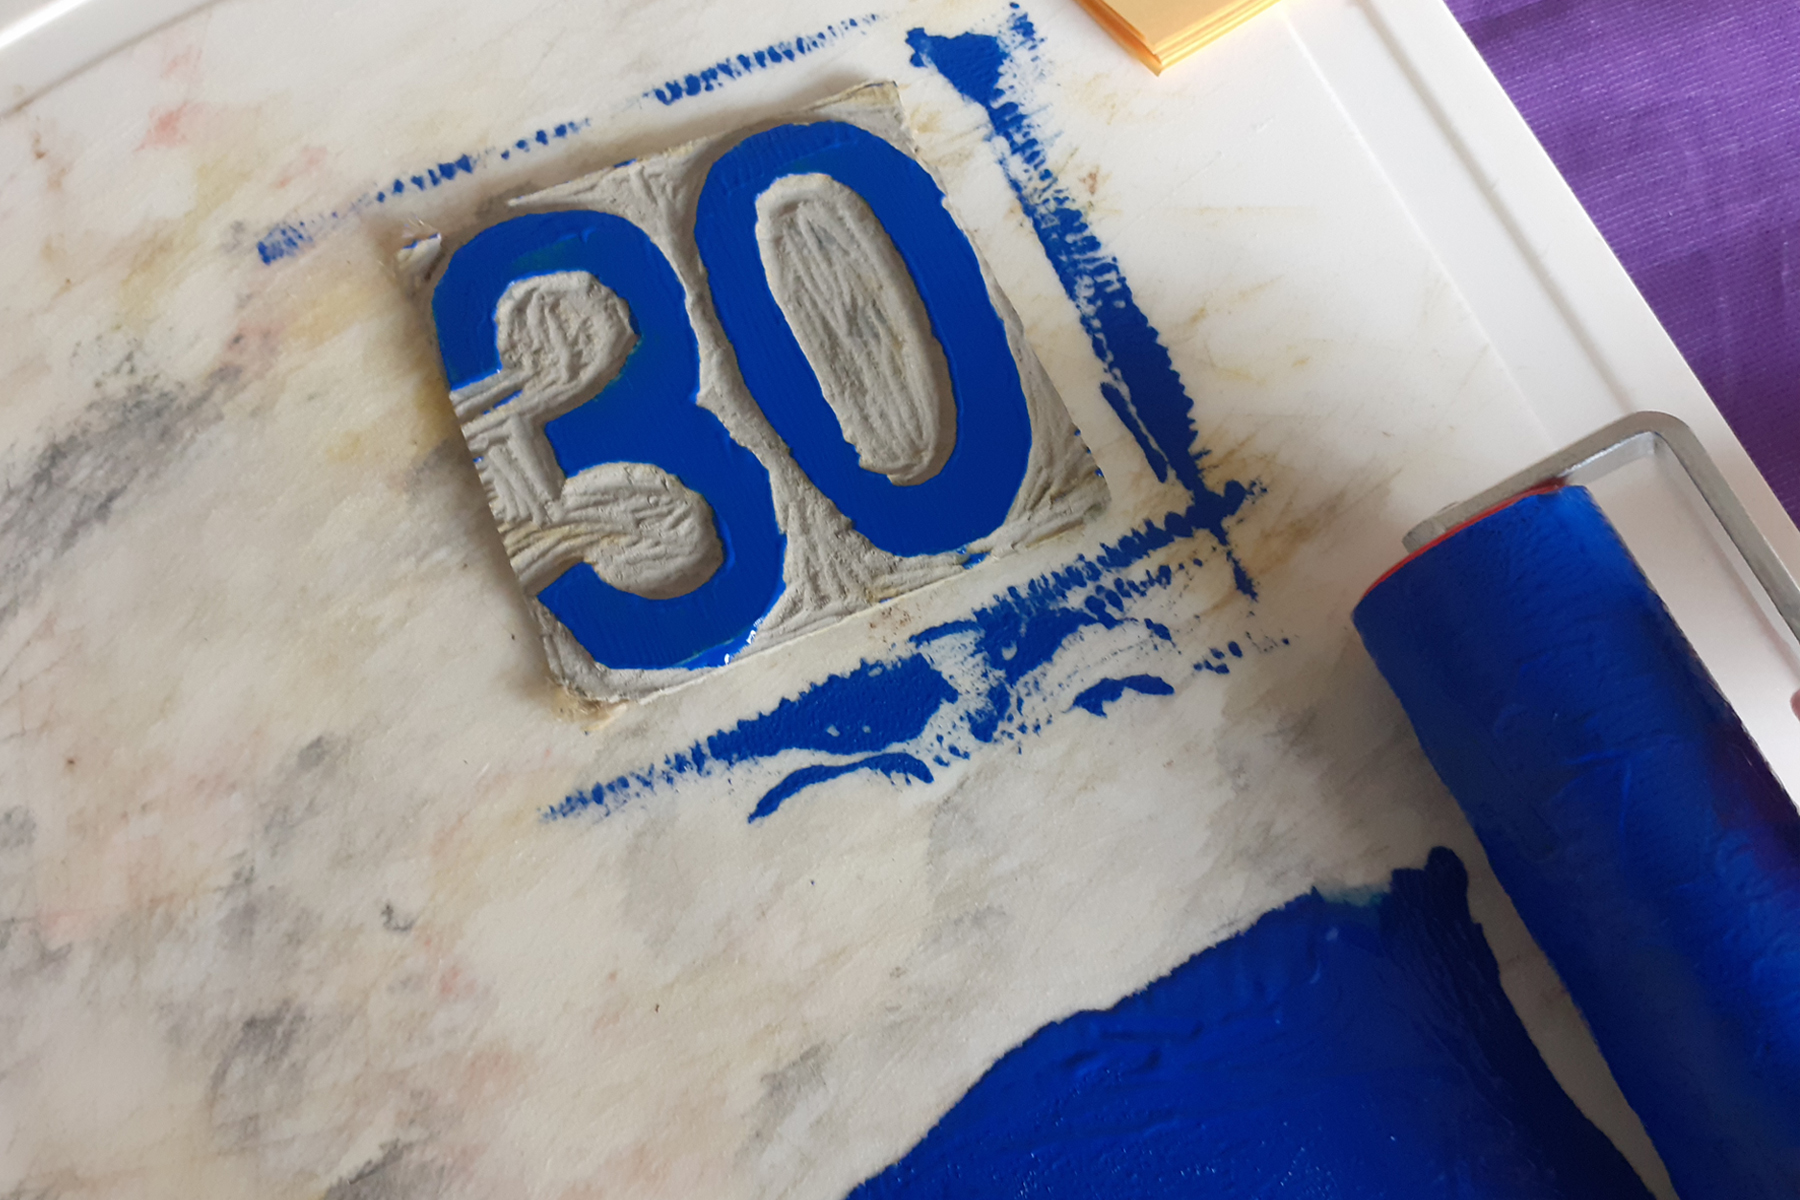
Design and create a simple design on paper a suitable size for transferring onto your block. Make sure you’re happy with it. If your design has any lettering or numbers these may need to be reflected, or your finished text might be backwards.
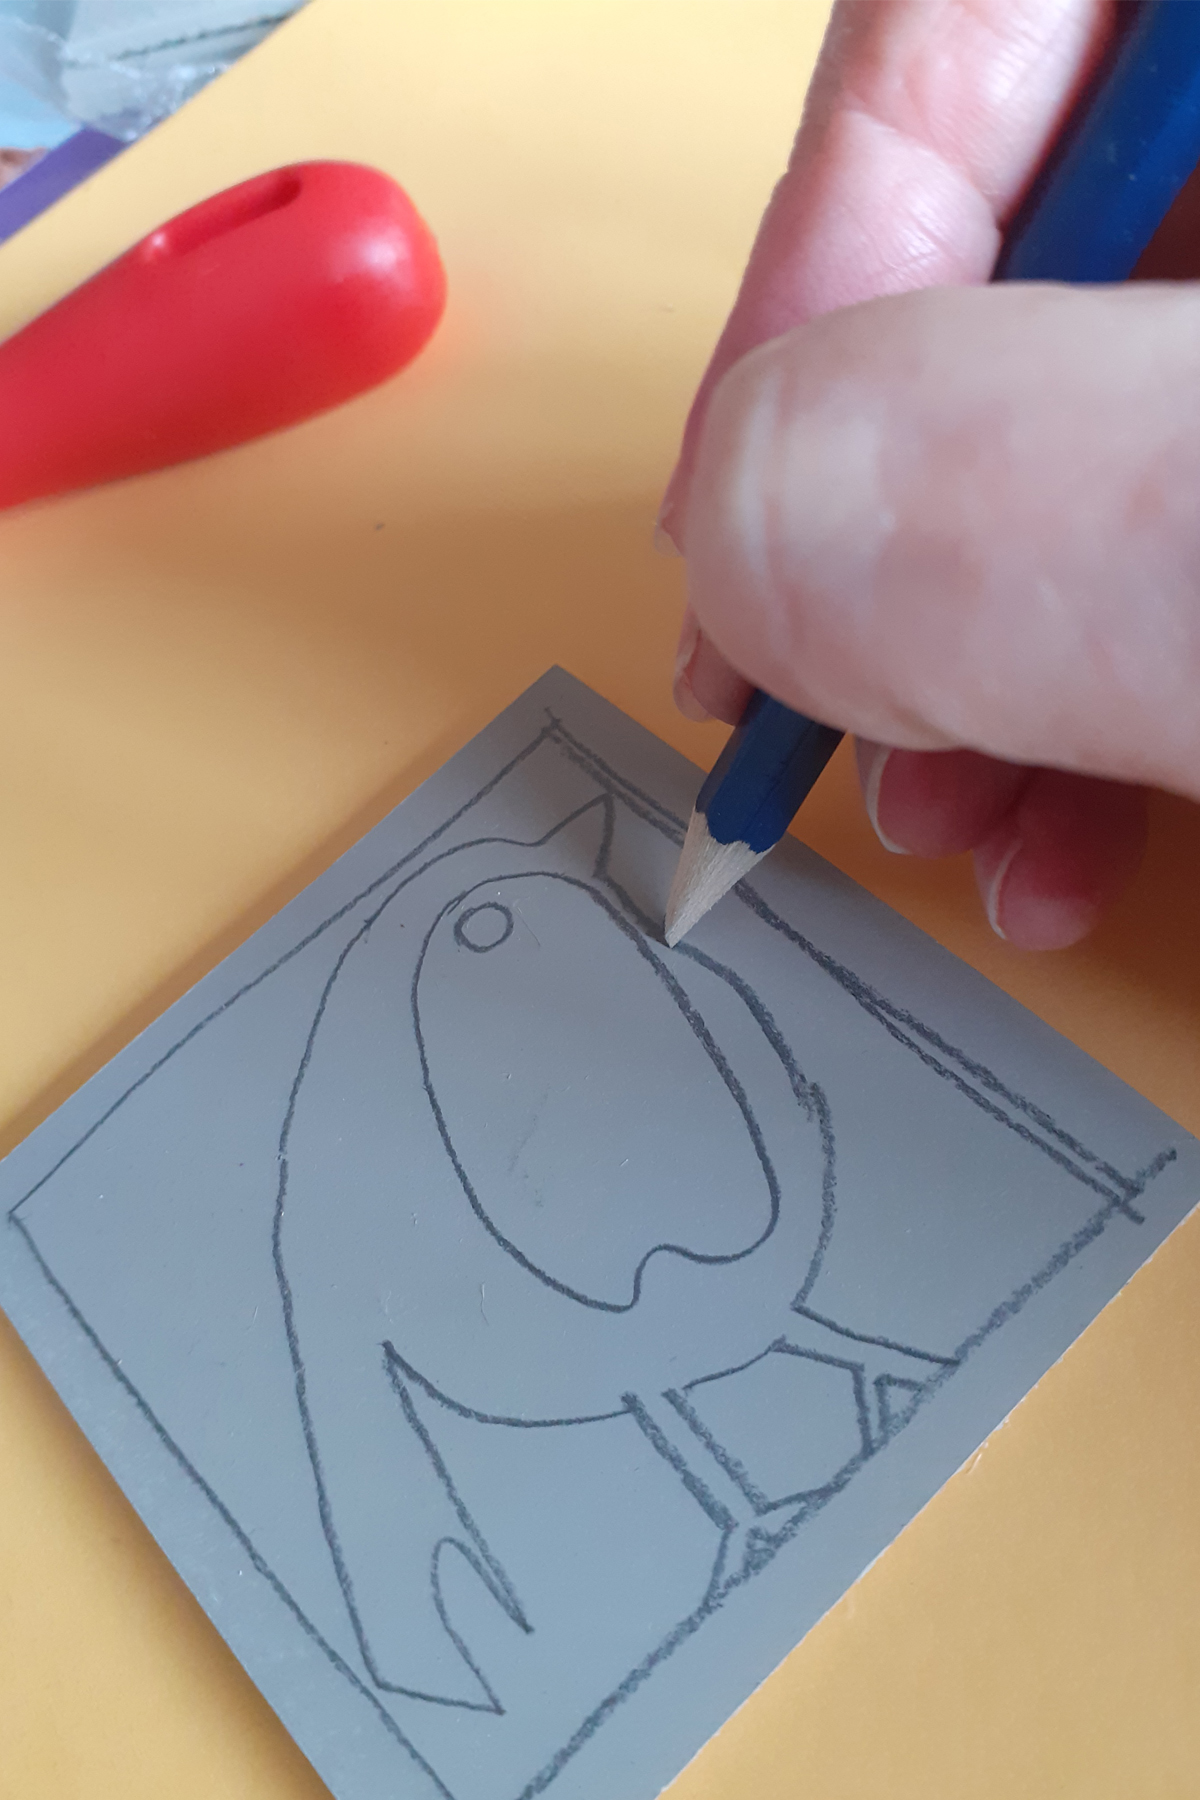
You can transfer the design onto the lino by tracing paper, or simply re-draw it onto the block, don’t start with too many small or complex areas, like faces or detailed areas, stay simple!
Once your design is pencilled onto the block you can start carefully cutting, try to cut away from your body to avoid injuries. If easier you can tape your block to the table surface or buy a special cutter corner to hold it in place.
When you think its ready, its time to start your inking. Squeeze a small amount onto a clean smooth surface like a piece of glass, Perspex, plastic tray or similar. Don’t use kitchen counter, tables or anything you value, the ink will stain! The area of inking only needs to be slightly larger than the width of the roller, so that the roller will be evenly coated.
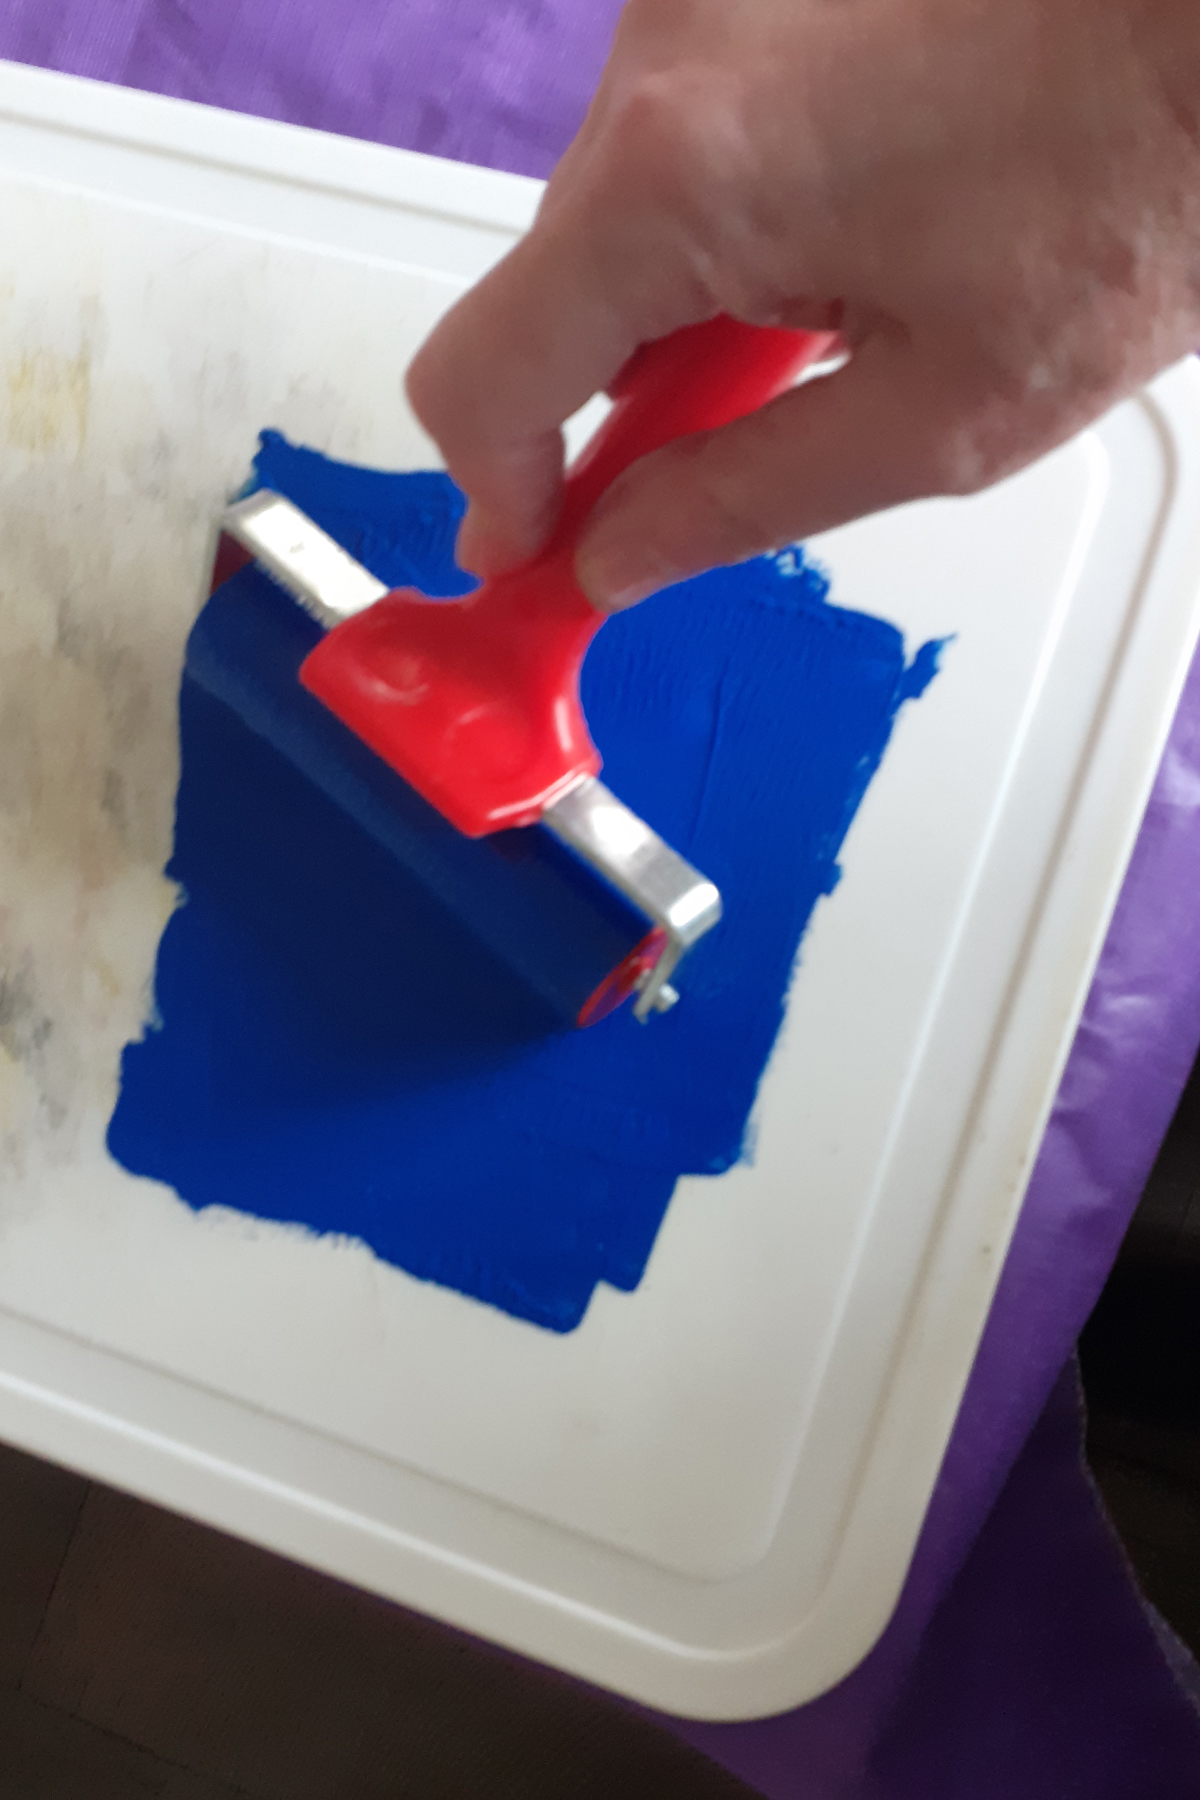
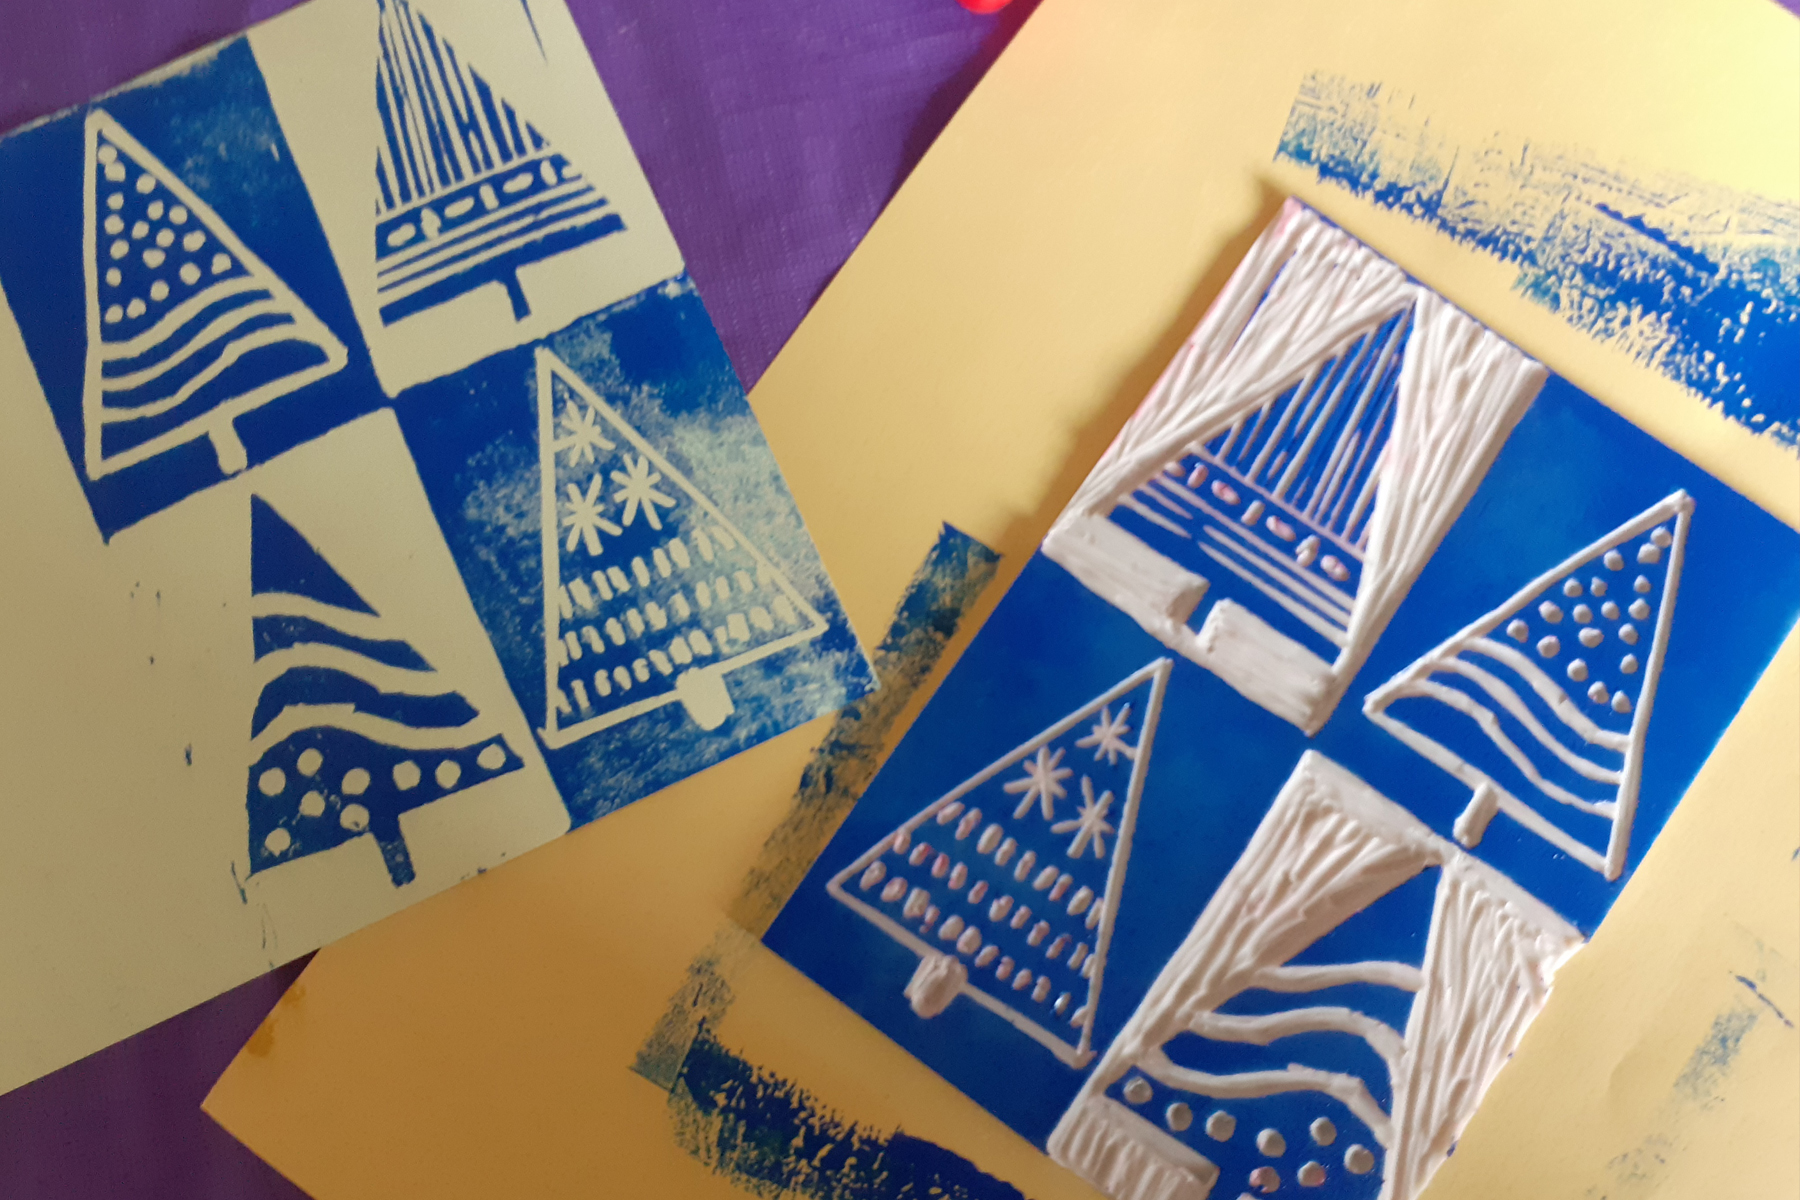
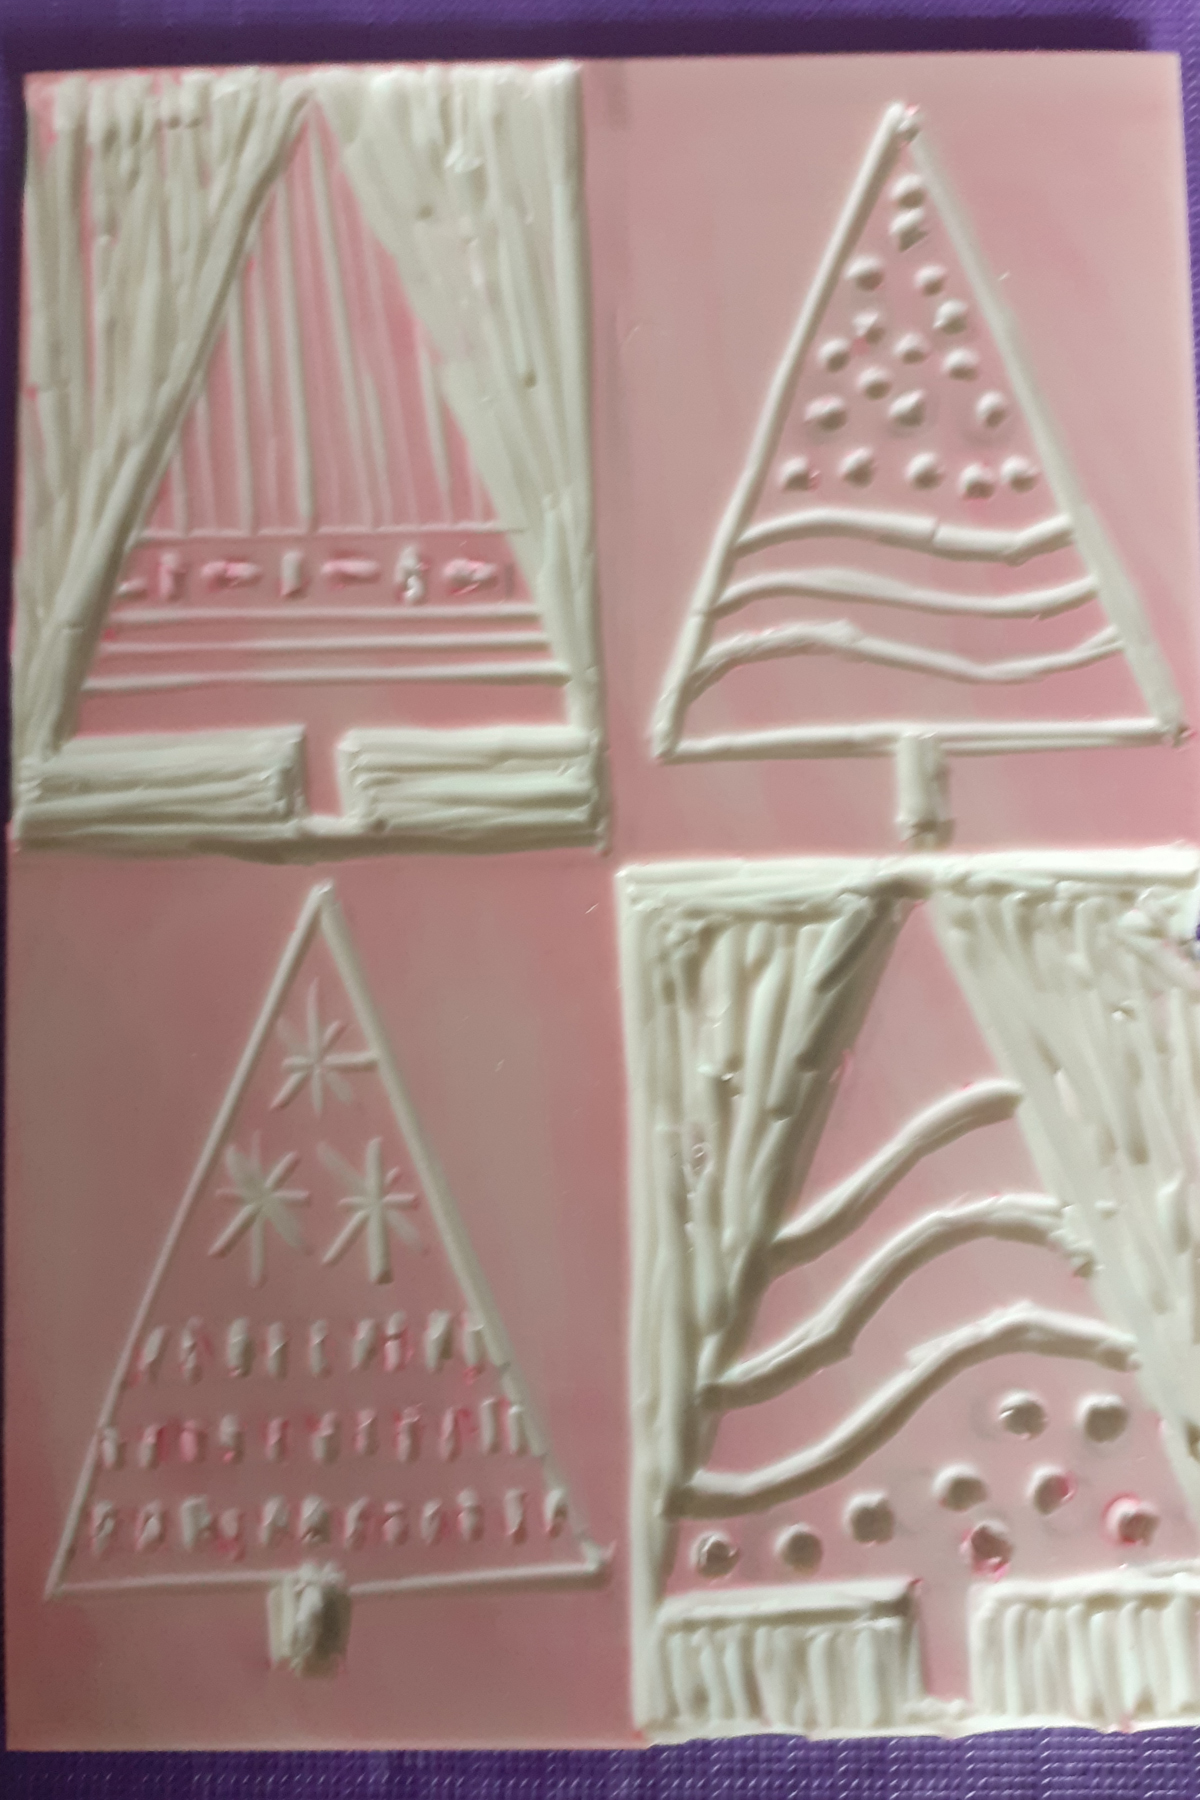
Using your printer’s roller, roll the ink around until it’s flat and smooth, you’ll start to hear a distinctive ‘sticky ink’ noise, which tells you the ink is smooth and even on the roller. This is not emulsion paint – less is more, you can add more if you need it, but the layer of ink you are using should be fine and thin and evenly coating the roller, if the ink is too thick it will simply fill up the carefully crafted marks and lines you’ve carved and some design may be lost. Experiment on your practise lino first – to see how thick your lines need to be. The pictures show very simple designs. With just a few attempts you can create a whole set of cards, such as snowman, robin, stag, star, church, holly, Valentines, Easter, floral etc.
When you’re happy to print, roller the ink onto the lino, covering the whole piece, then carefully place your paper or card into position on top.
Keeping the paper utterly still, using either the back of a wooden spoon, or a very clean small roller, press firmly down to transfer the ink from the block onto the paper. Remove the paper carefully… and there is your design!
Place it carefully to dry flat – this may take some time, don’t smudge or touch the ink.
Problems & Solutions:
The ink was too thick and filled your lines – carefully wash and completely dry the lino – try again but with much less ink on your roller.
There are lots of lumps or scrape lines appearing where they shouldn’t – this might be where the scraped out area is quite large and hasn’t been scraped out deep enough. Or it could be that when pressing down to create the print, you have unevenly pressed too hard in one area so it’s revealed the scraped out space as well as the intended lines. Try again and press evenly.
The design is a little blurred - after checking your lino is not ‘full’ of ink, you could try washing it and cutting a little more neatly, sharply or deeply in the areas you are not happy with.
The design is wonky on the card/paper – cure this by lining up to a pencil guide for the corners, which can be removed after the ink is dried, or create a cardboard guide, taped to your table, to make sure the card or block are level and in place and don’t wobble during the tricky print procedure.
Tips:
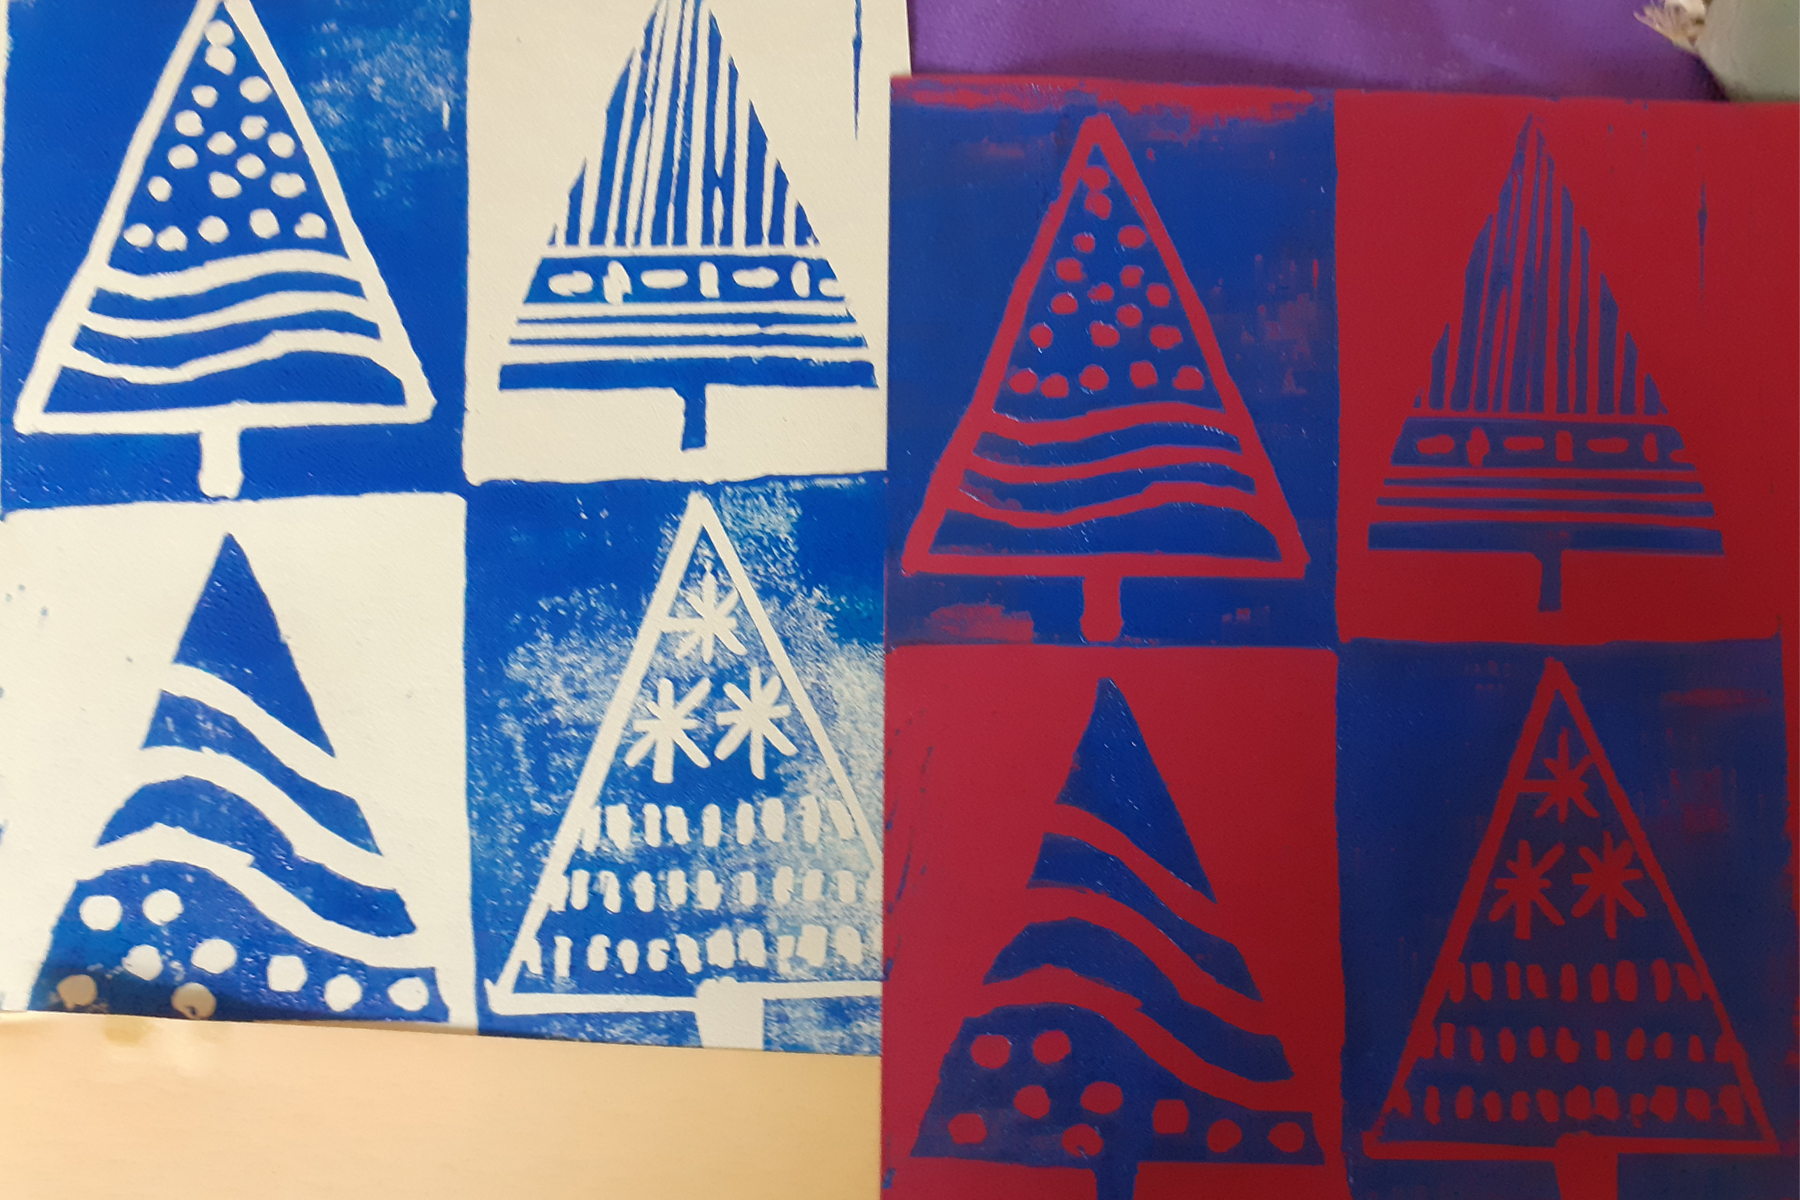
Simple designs look great in multiples i.e. 2 or 4 different colours on one sheet.
Personalise your images by matching colours to your room or curtains.
You can print onto smooth fabric but it may not be washable – check your inks before you buy.
You don’t need lots of colours, just buy the basics and mix shades yourself before you start rollering.
You can create your own wallpaper by inking onto a heavy grade of lining paper – be prepared to work hard but a small feature personalised wall can look fantastic!
Have fun – check out online sites and images for more instructions, free designs and inspiration.