Solihull Arts Complex
- Whats-On
- Cc-Create-A-Floral-Card
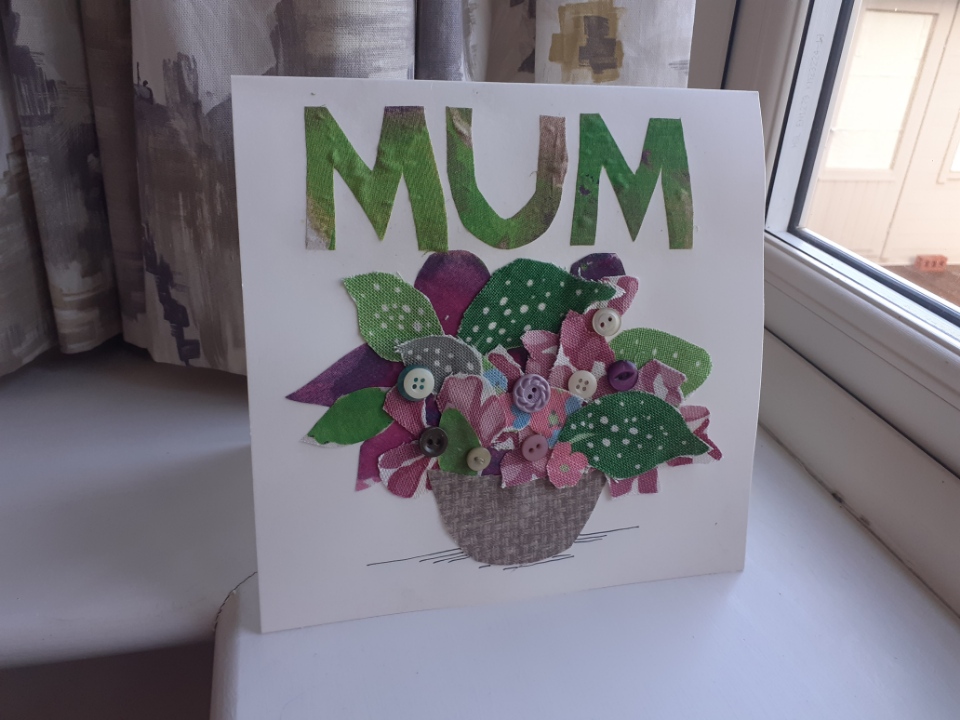
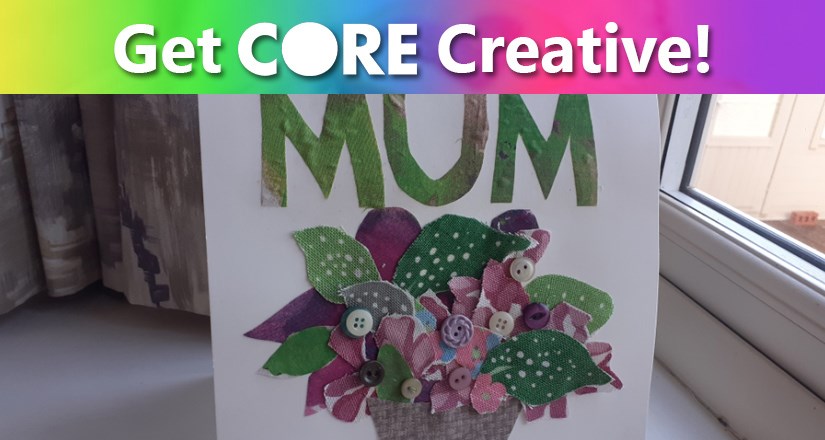
Core Creative - FLORAL COLLAGE FUN
CREATE A FLORAL MOTHER’S DAY OR GIFT CARD
IDEAL FOR GIFTS, CARDS OR FRAMED
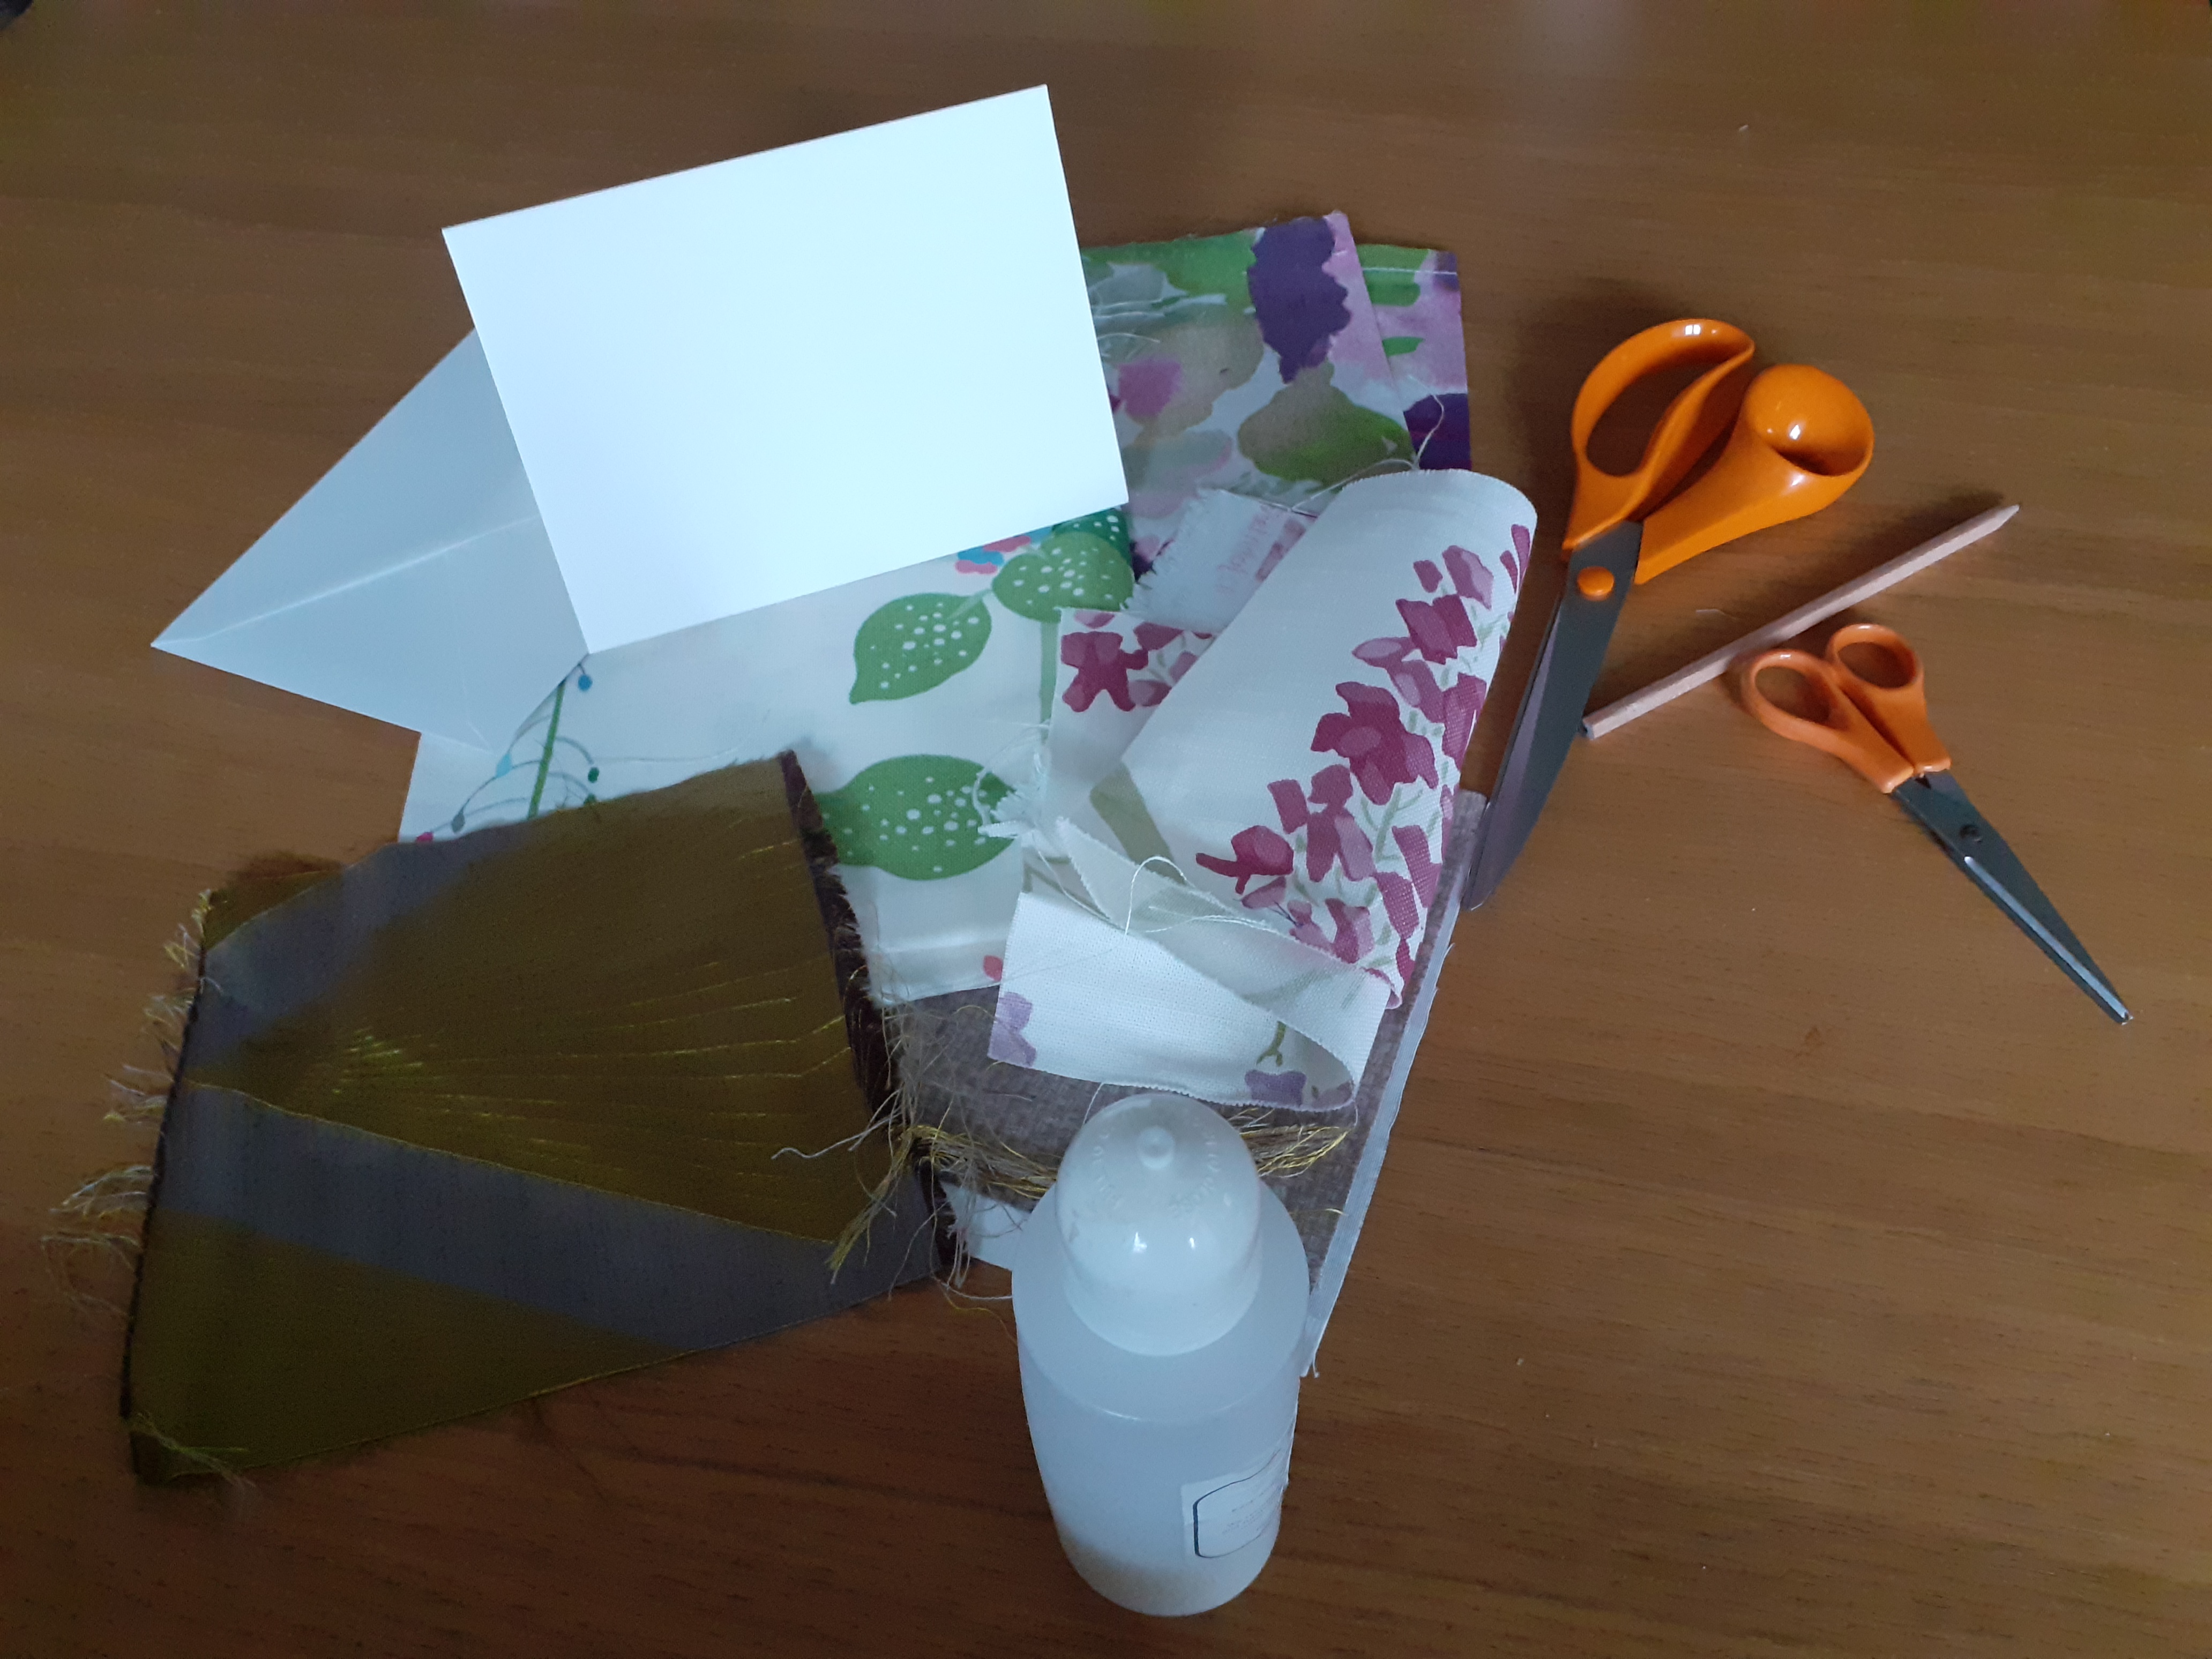
You’ll need:
Good sharp scissors
Blank card
Selection of fabric flowers, any pattern, colour or type
Glue – preferably Copydex or PVA craft glue
Pencil
Buttons, ribbons or other optional extras
Marker or felt pen for any text
Read these instructions through completely before you start.
Handmake a beautiful fabric floral card for a friend or loved one. Perfect for a Valentine, Mother’s Day, Birthday or a Thank you card - or simply a lovely thing to make for yourself or your home.
First find some nice, relatively strong card. Craft shops sell packs of inexpensive ‘blanks’ otherwise any plain card, including packaging will be fine. You’re looking for something that will still stand up with a little weight added.
Find your fabric – every house should have a couple of bits of suitable fabric, left-over sewing, an old blouse, pillowcase or ask an arty friend what they can donate, particularly floral. Inexpensive clothing in charity shops often have lovely patterns and great for chopping and cutting up to re-cycle. If you don’t have floral, just use plain and cut out flower shapes. If you don’t have fabric, snip coloured paper flowers out of old magazines – improvise!
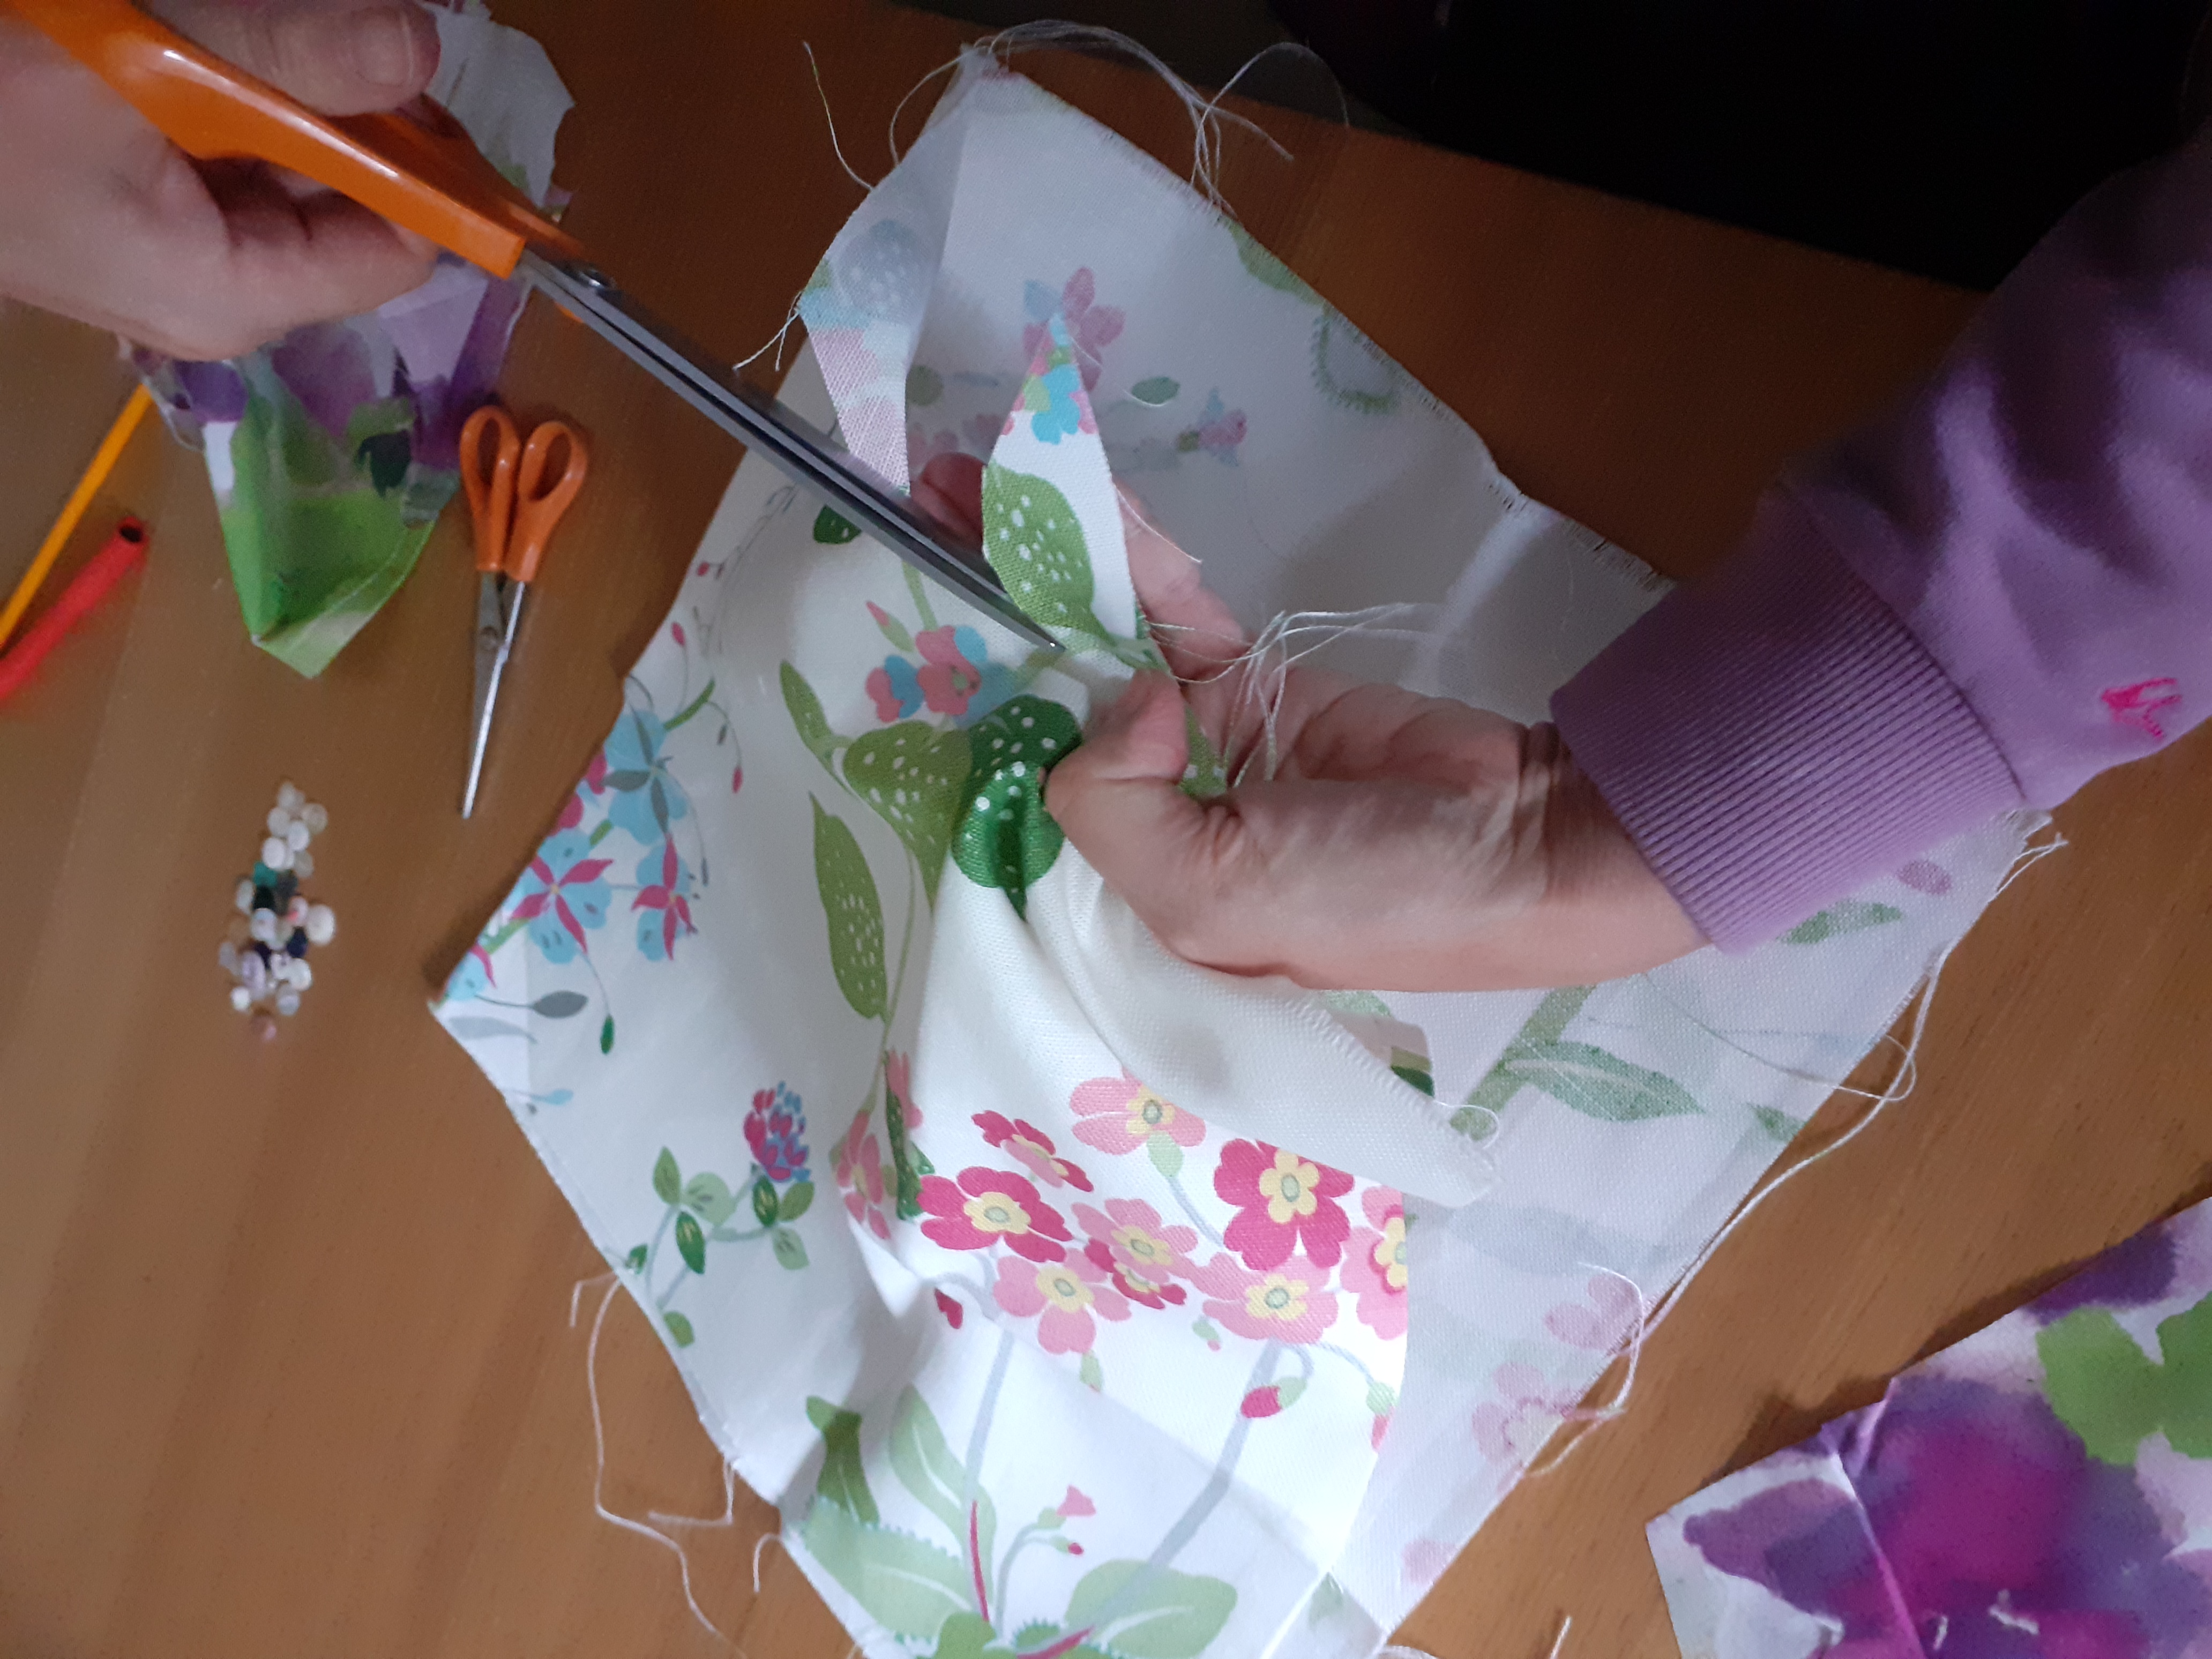
Take care using scissors and glue with small children and pets. Work on a flat surface away from babies and pets. No sewing is required unless you want to. You can stitch through the card using ordinary thread, it just takes longer.
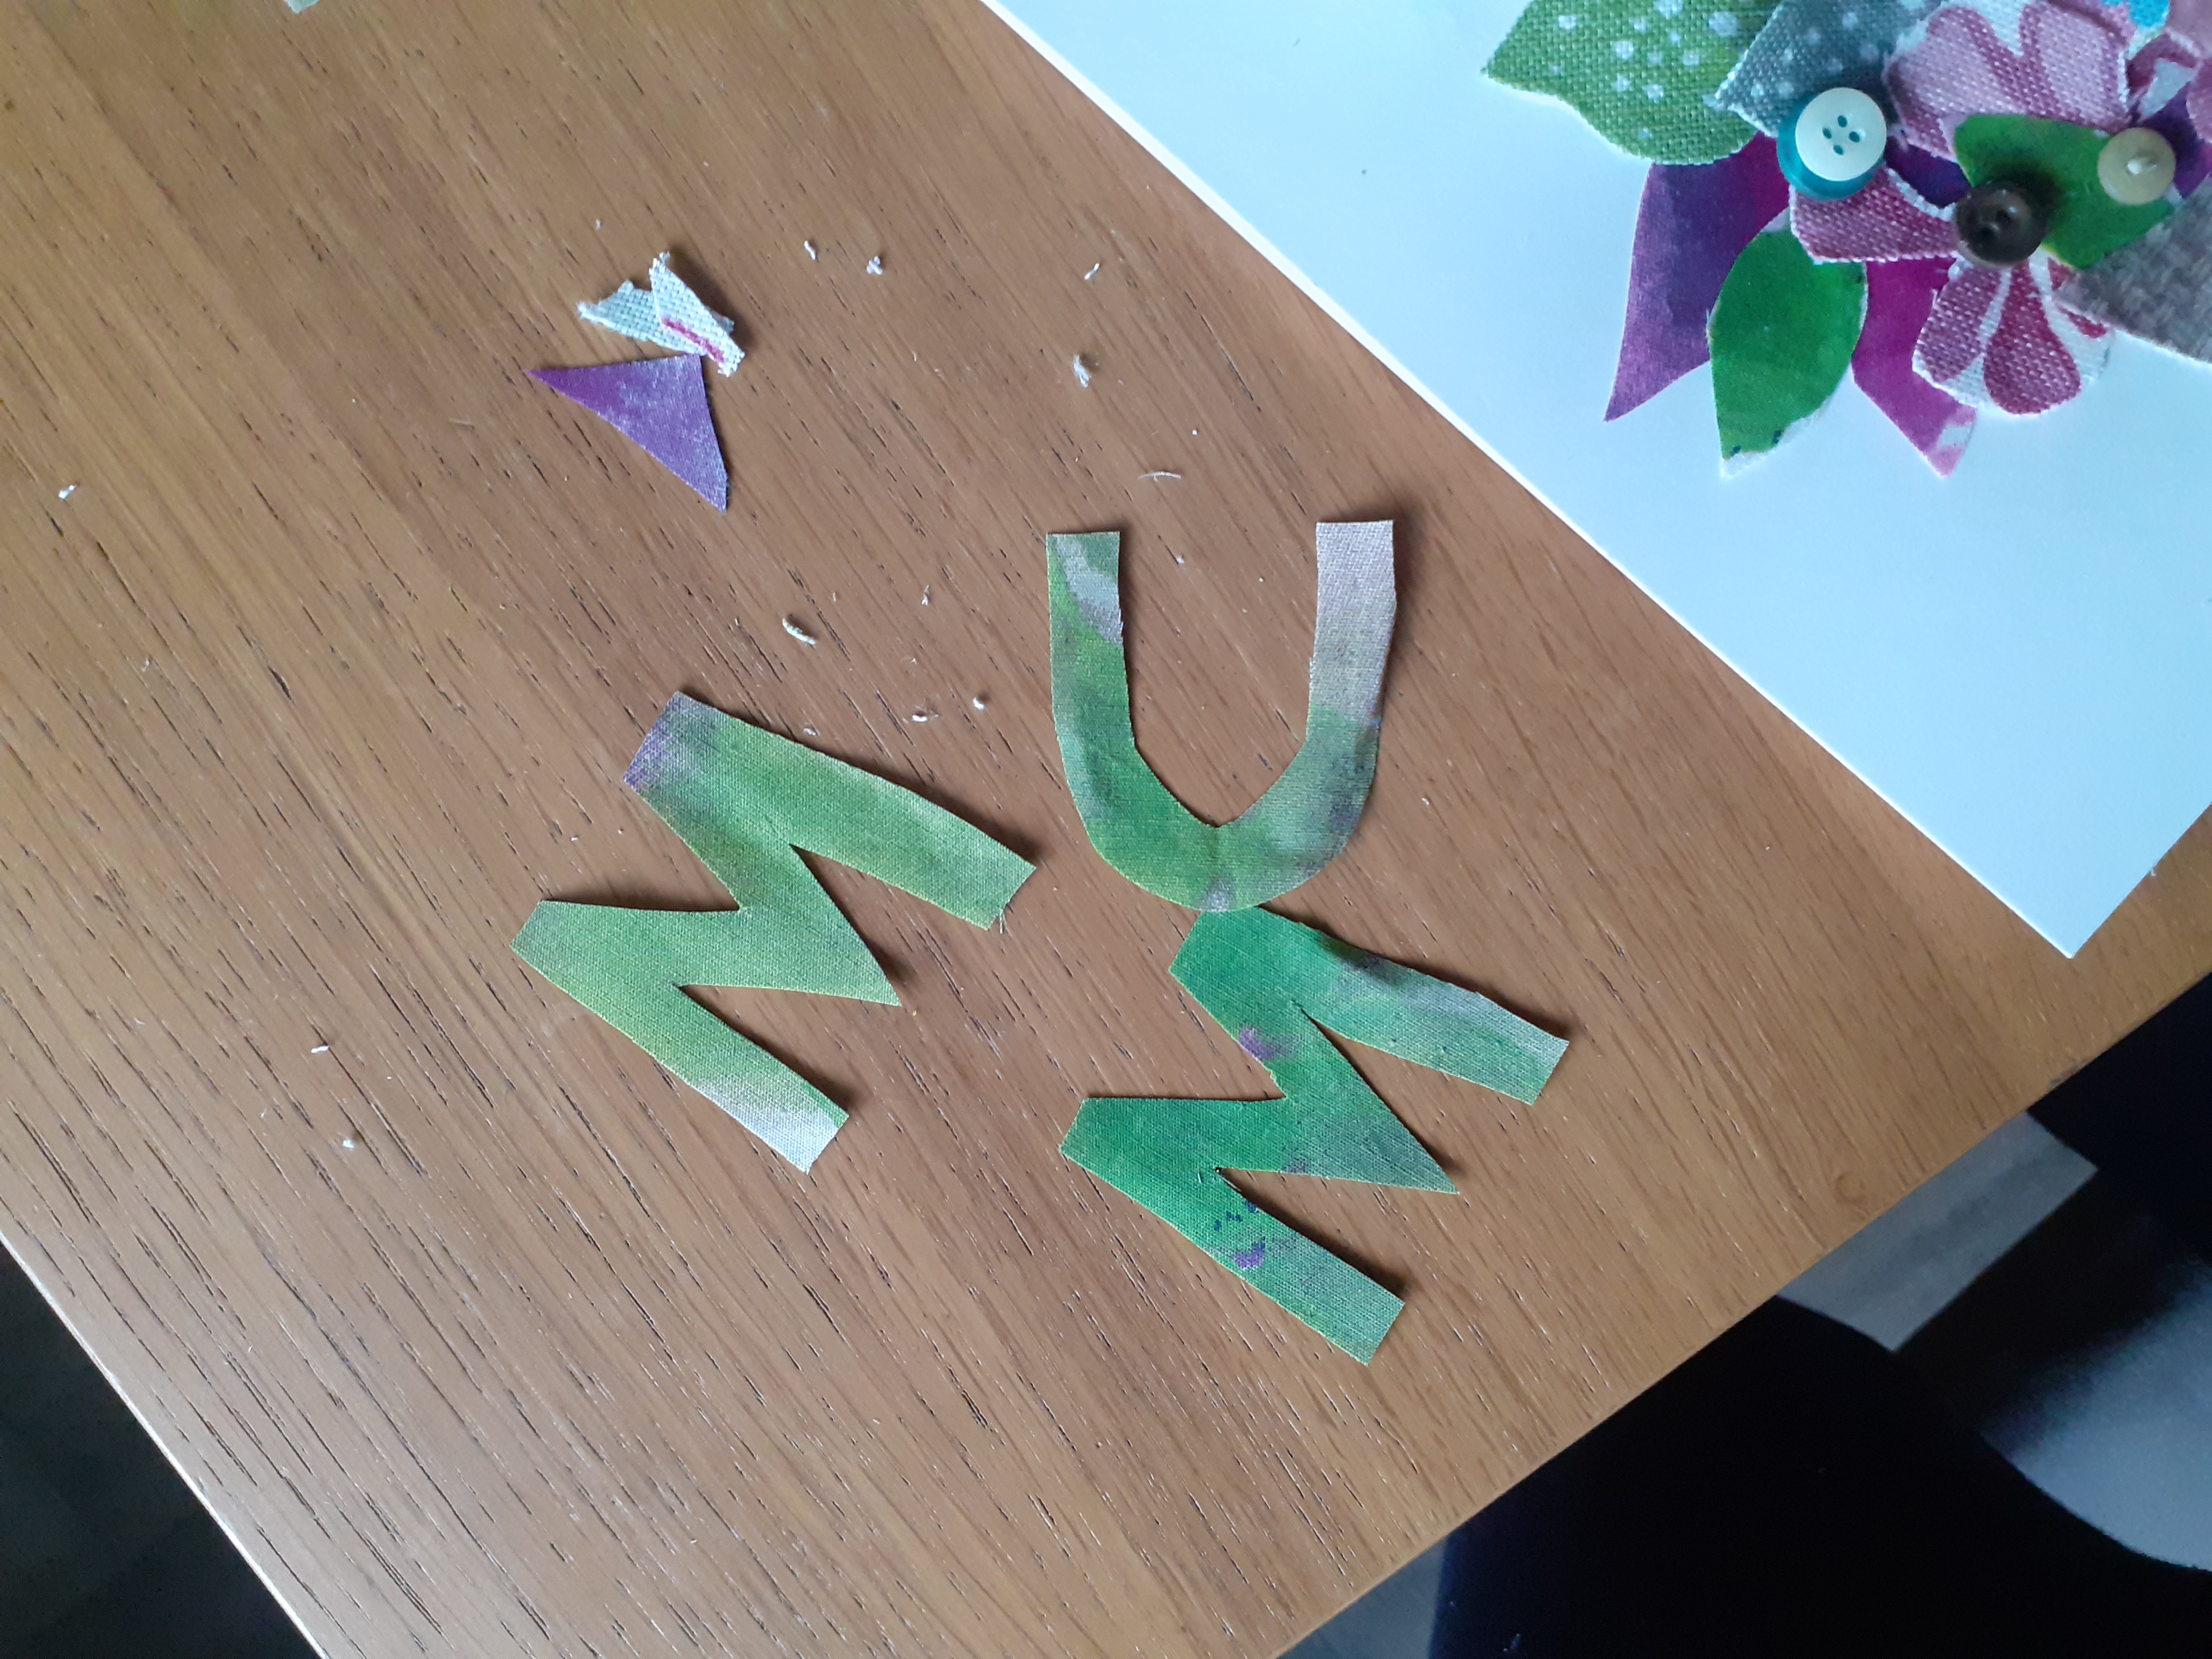
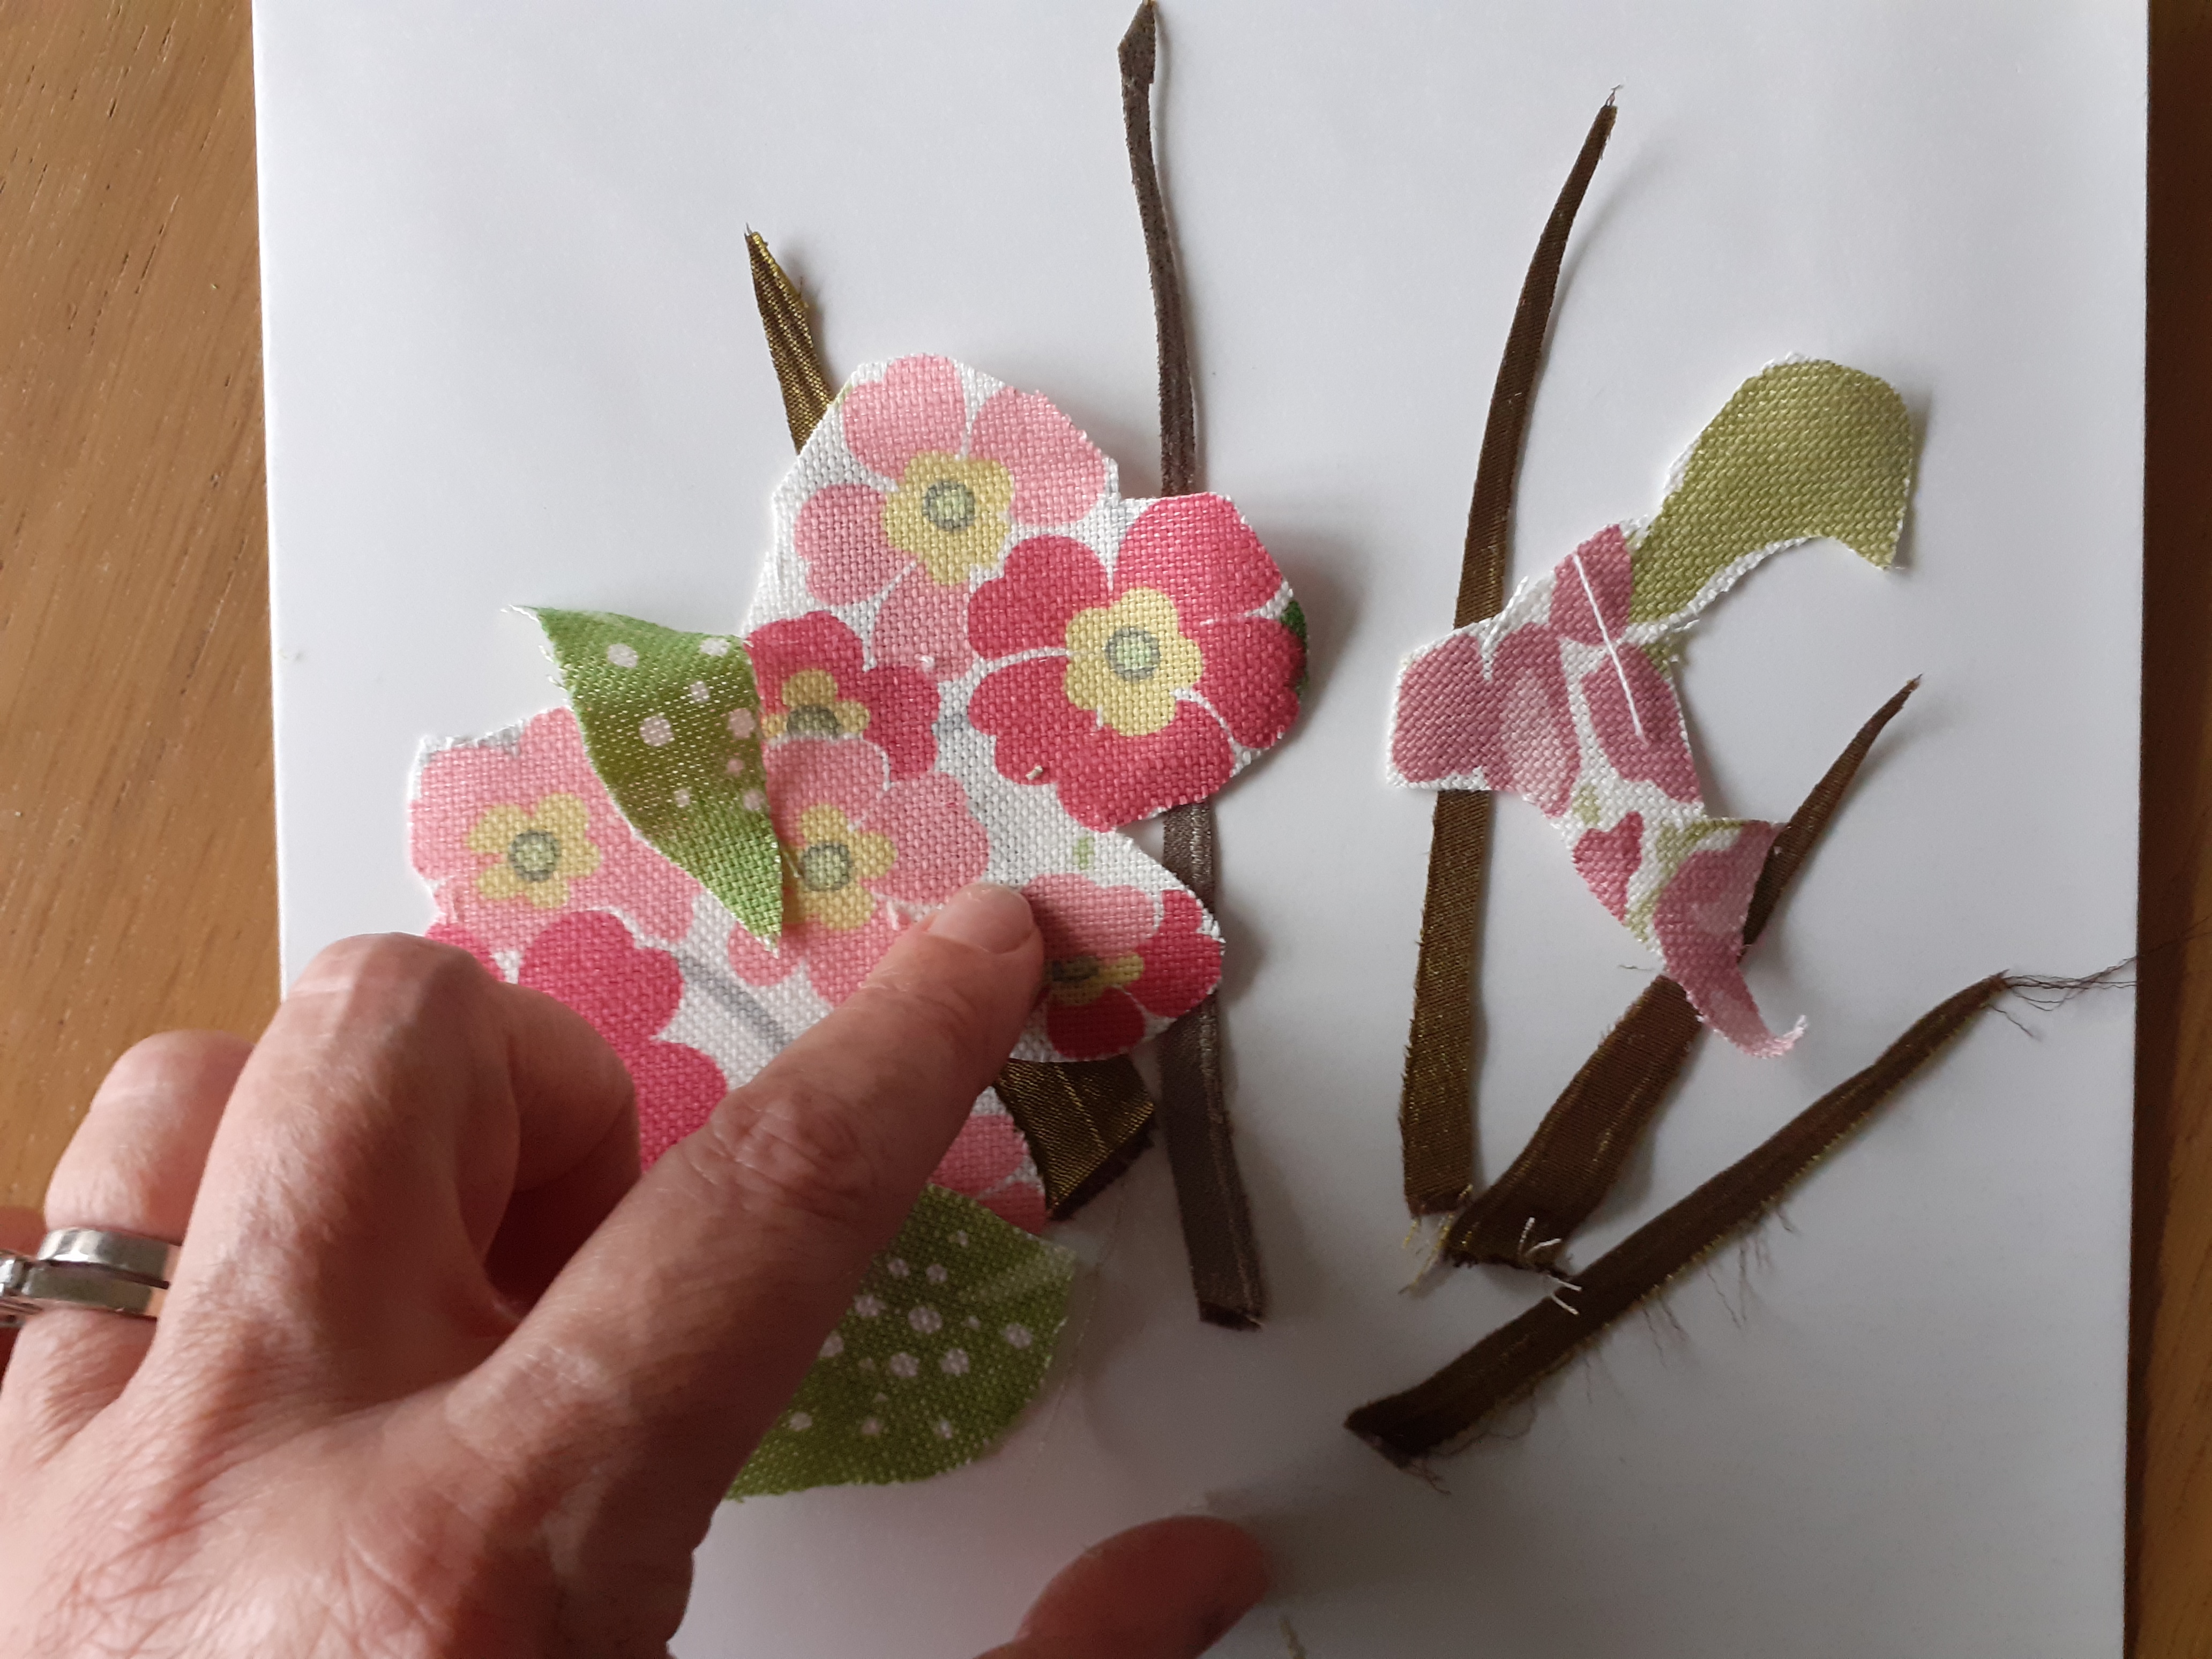
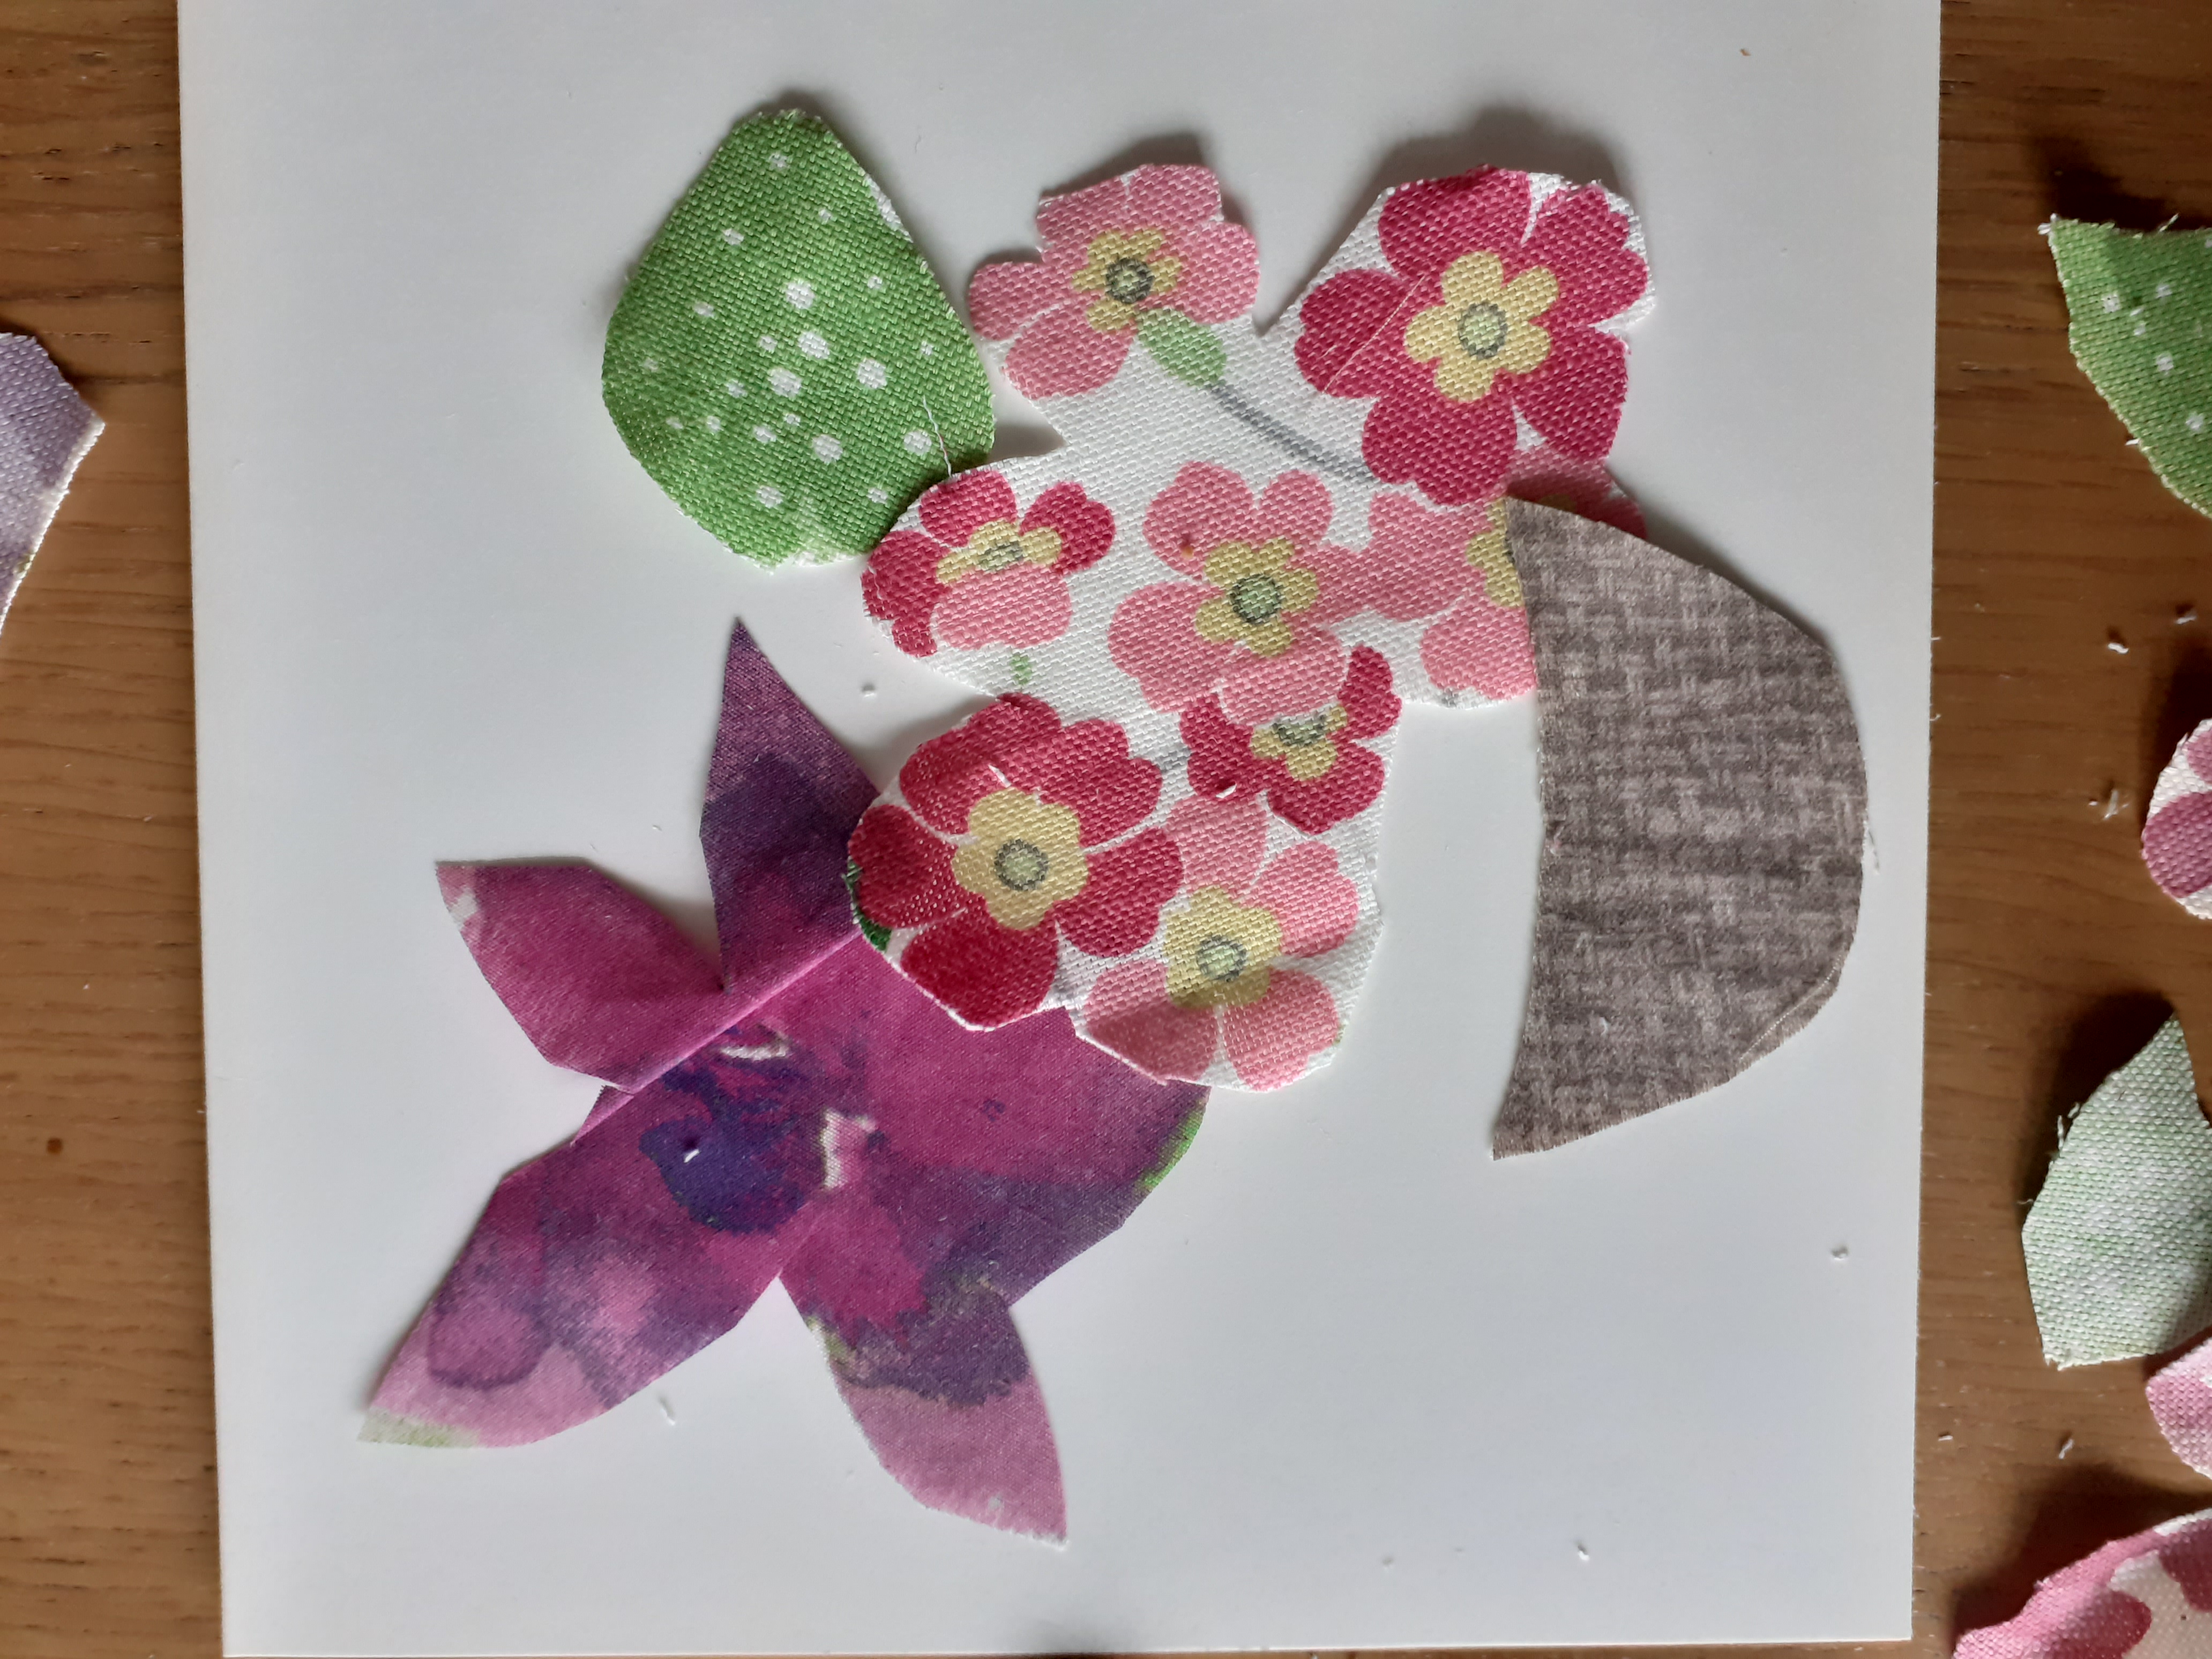
Decide on your pattern and test it out without glue. Create a name, or M U M or shape out a heart, or other shape such as a fabric basket etc. Experiment using small and large, spaced out or packed up close together. If you have the fabric you can add leaves and stalks to your floral loveliness, just cut them out and see how they look. They’ll need to go onto the card first, with the flower heads placed over. Add pretty ribbon or wool bows, or other optional extras if you have them.
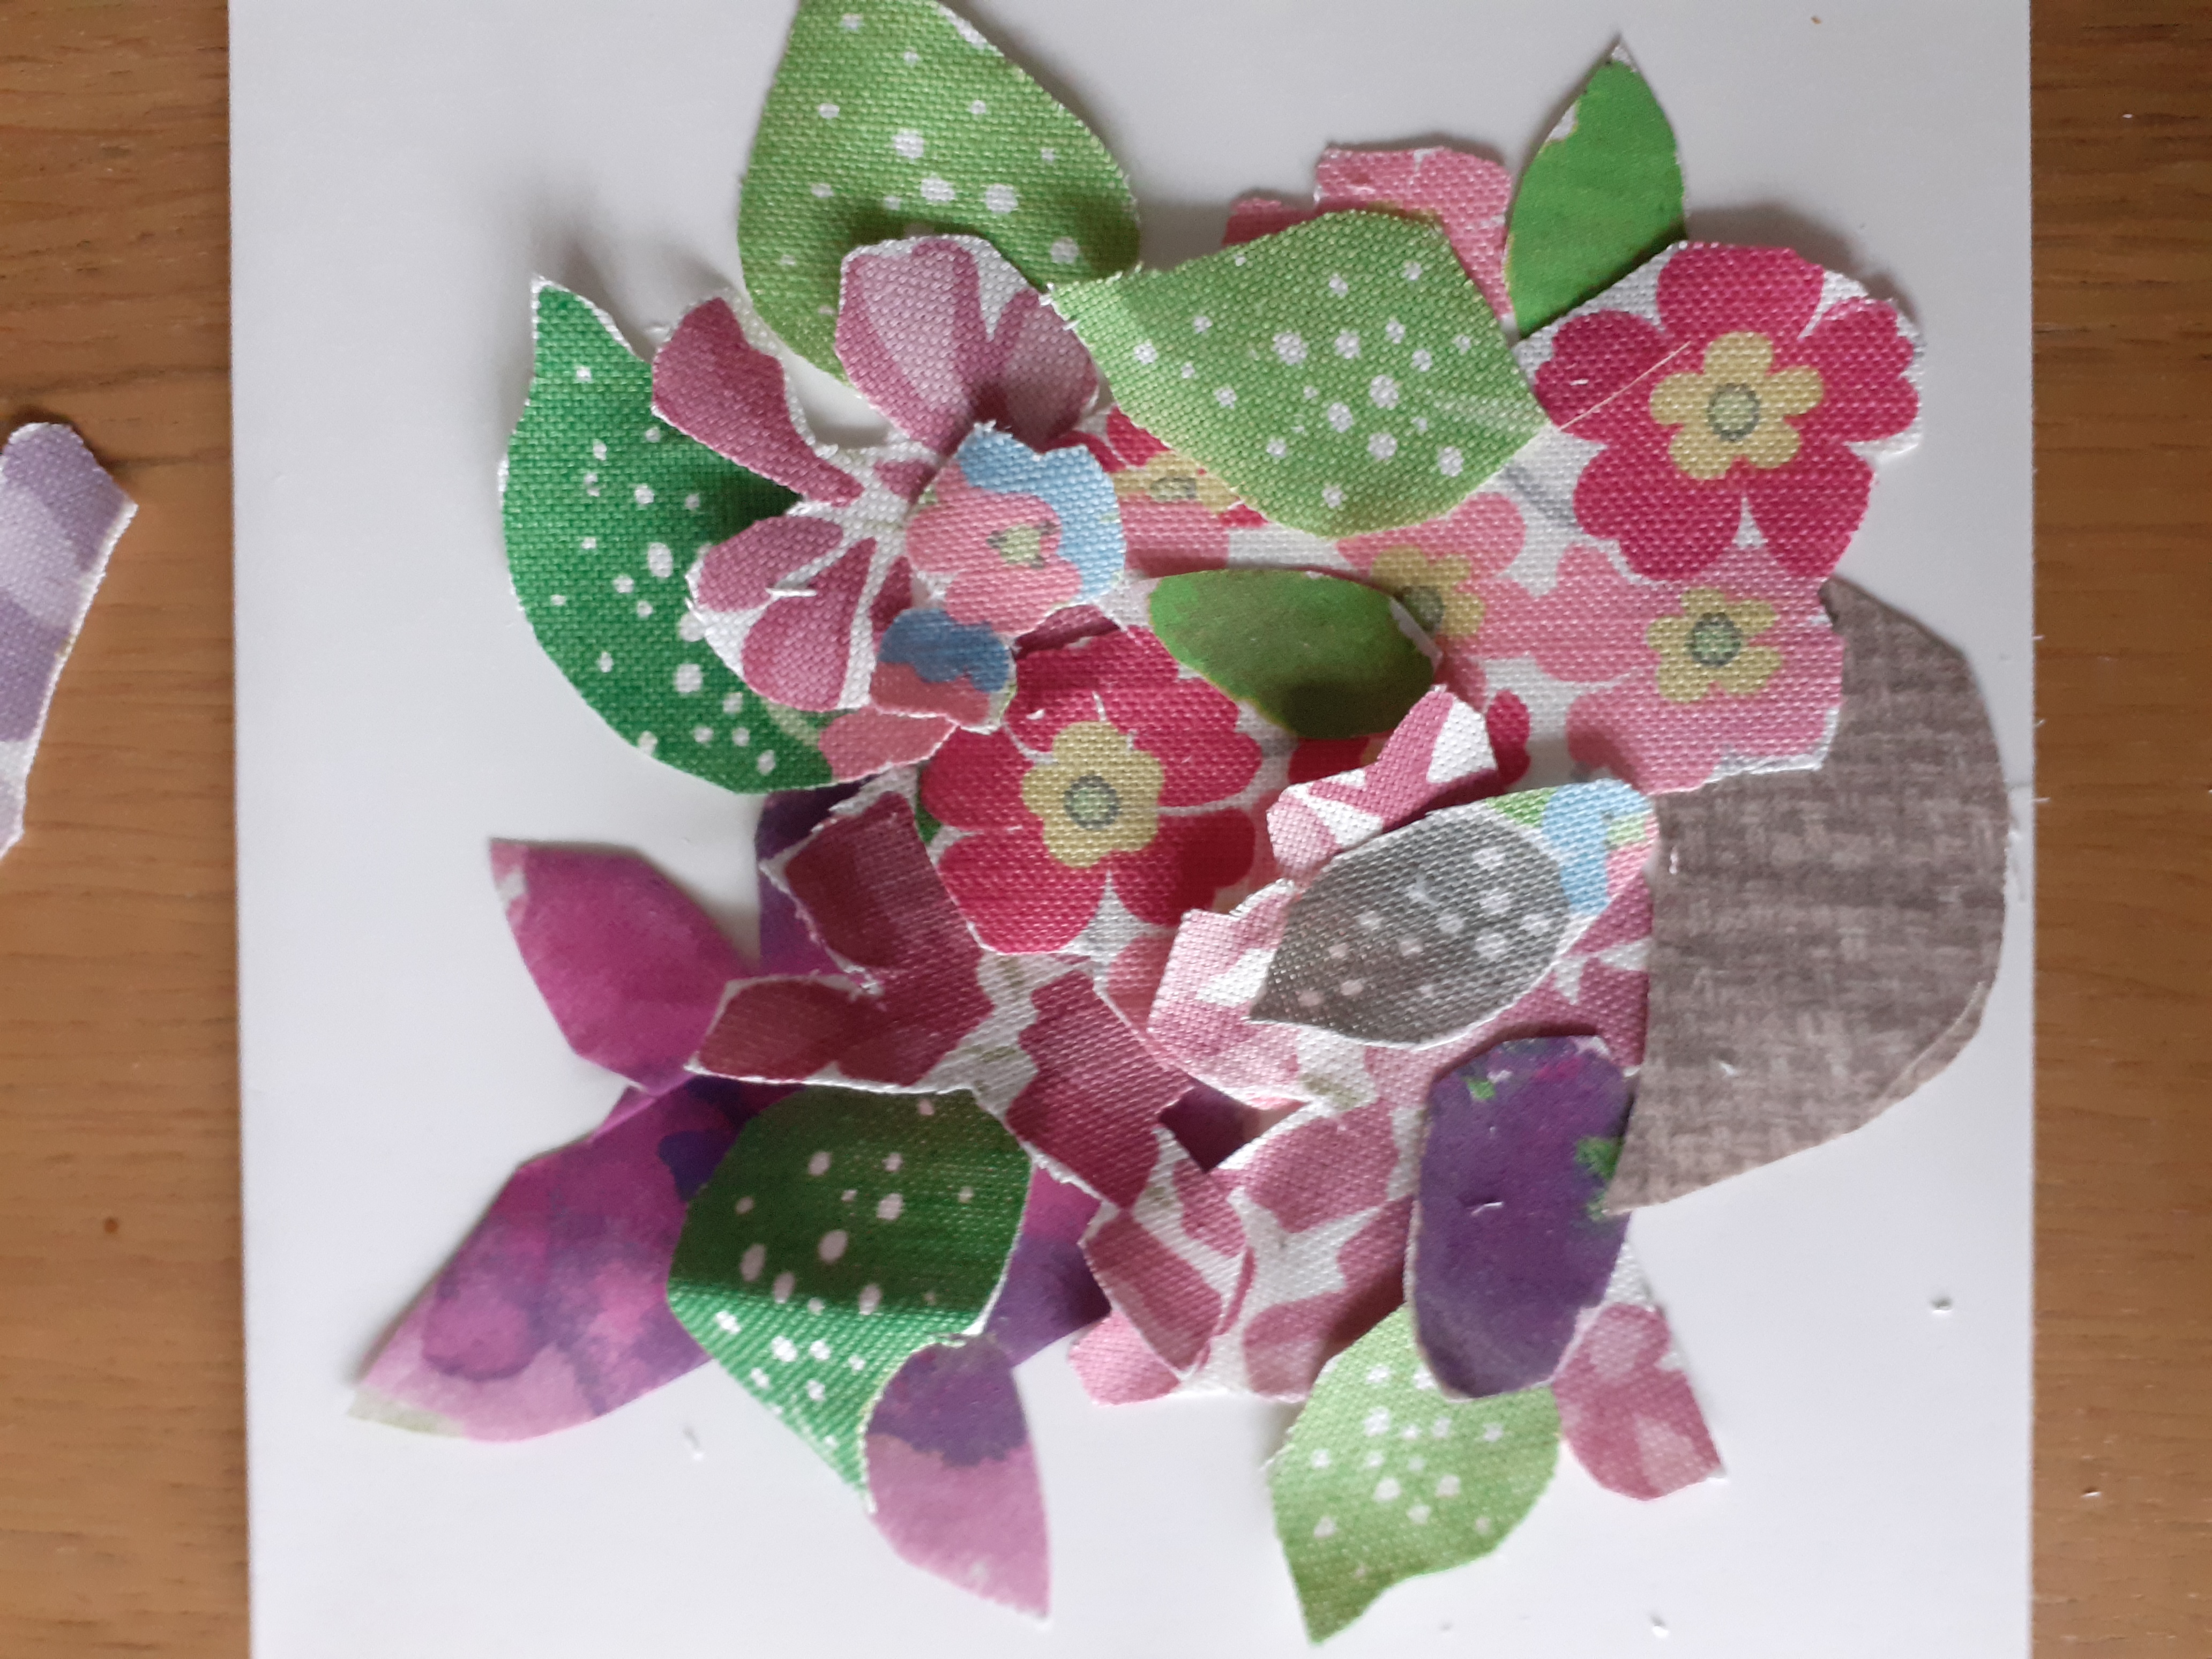
Depending on your patterns of fabric, you might want to create a full-on blowsy bouquet! or keep it simple with small identical flower heads, (sometimes less is more). When glueing the flowers leave some petal edges unglued, to hang in a realistic floral way. Remember when making a card, it might overbalance if your flowers are too heavy – maybe decorate the back of the card to balance it up!
Once you’re happy with your pattern, take a picture on a mobile phone! Then carefully remove the flowers, and draw soft pencil lines as a guide to where your flowers will be glued.
If you’re planning to write a message, such as Happy Birthday or To NAN etc do this BEFORE you start glueing, as it’ll be harder to write afterwards.
Check all spelling and spacing first – nothing worse than squeezing missing letters in at the end!
Using the picture on your phone, apply glue one letter, flower or shape at a time, recreating your design and using the picture on your phone to keep you on track!
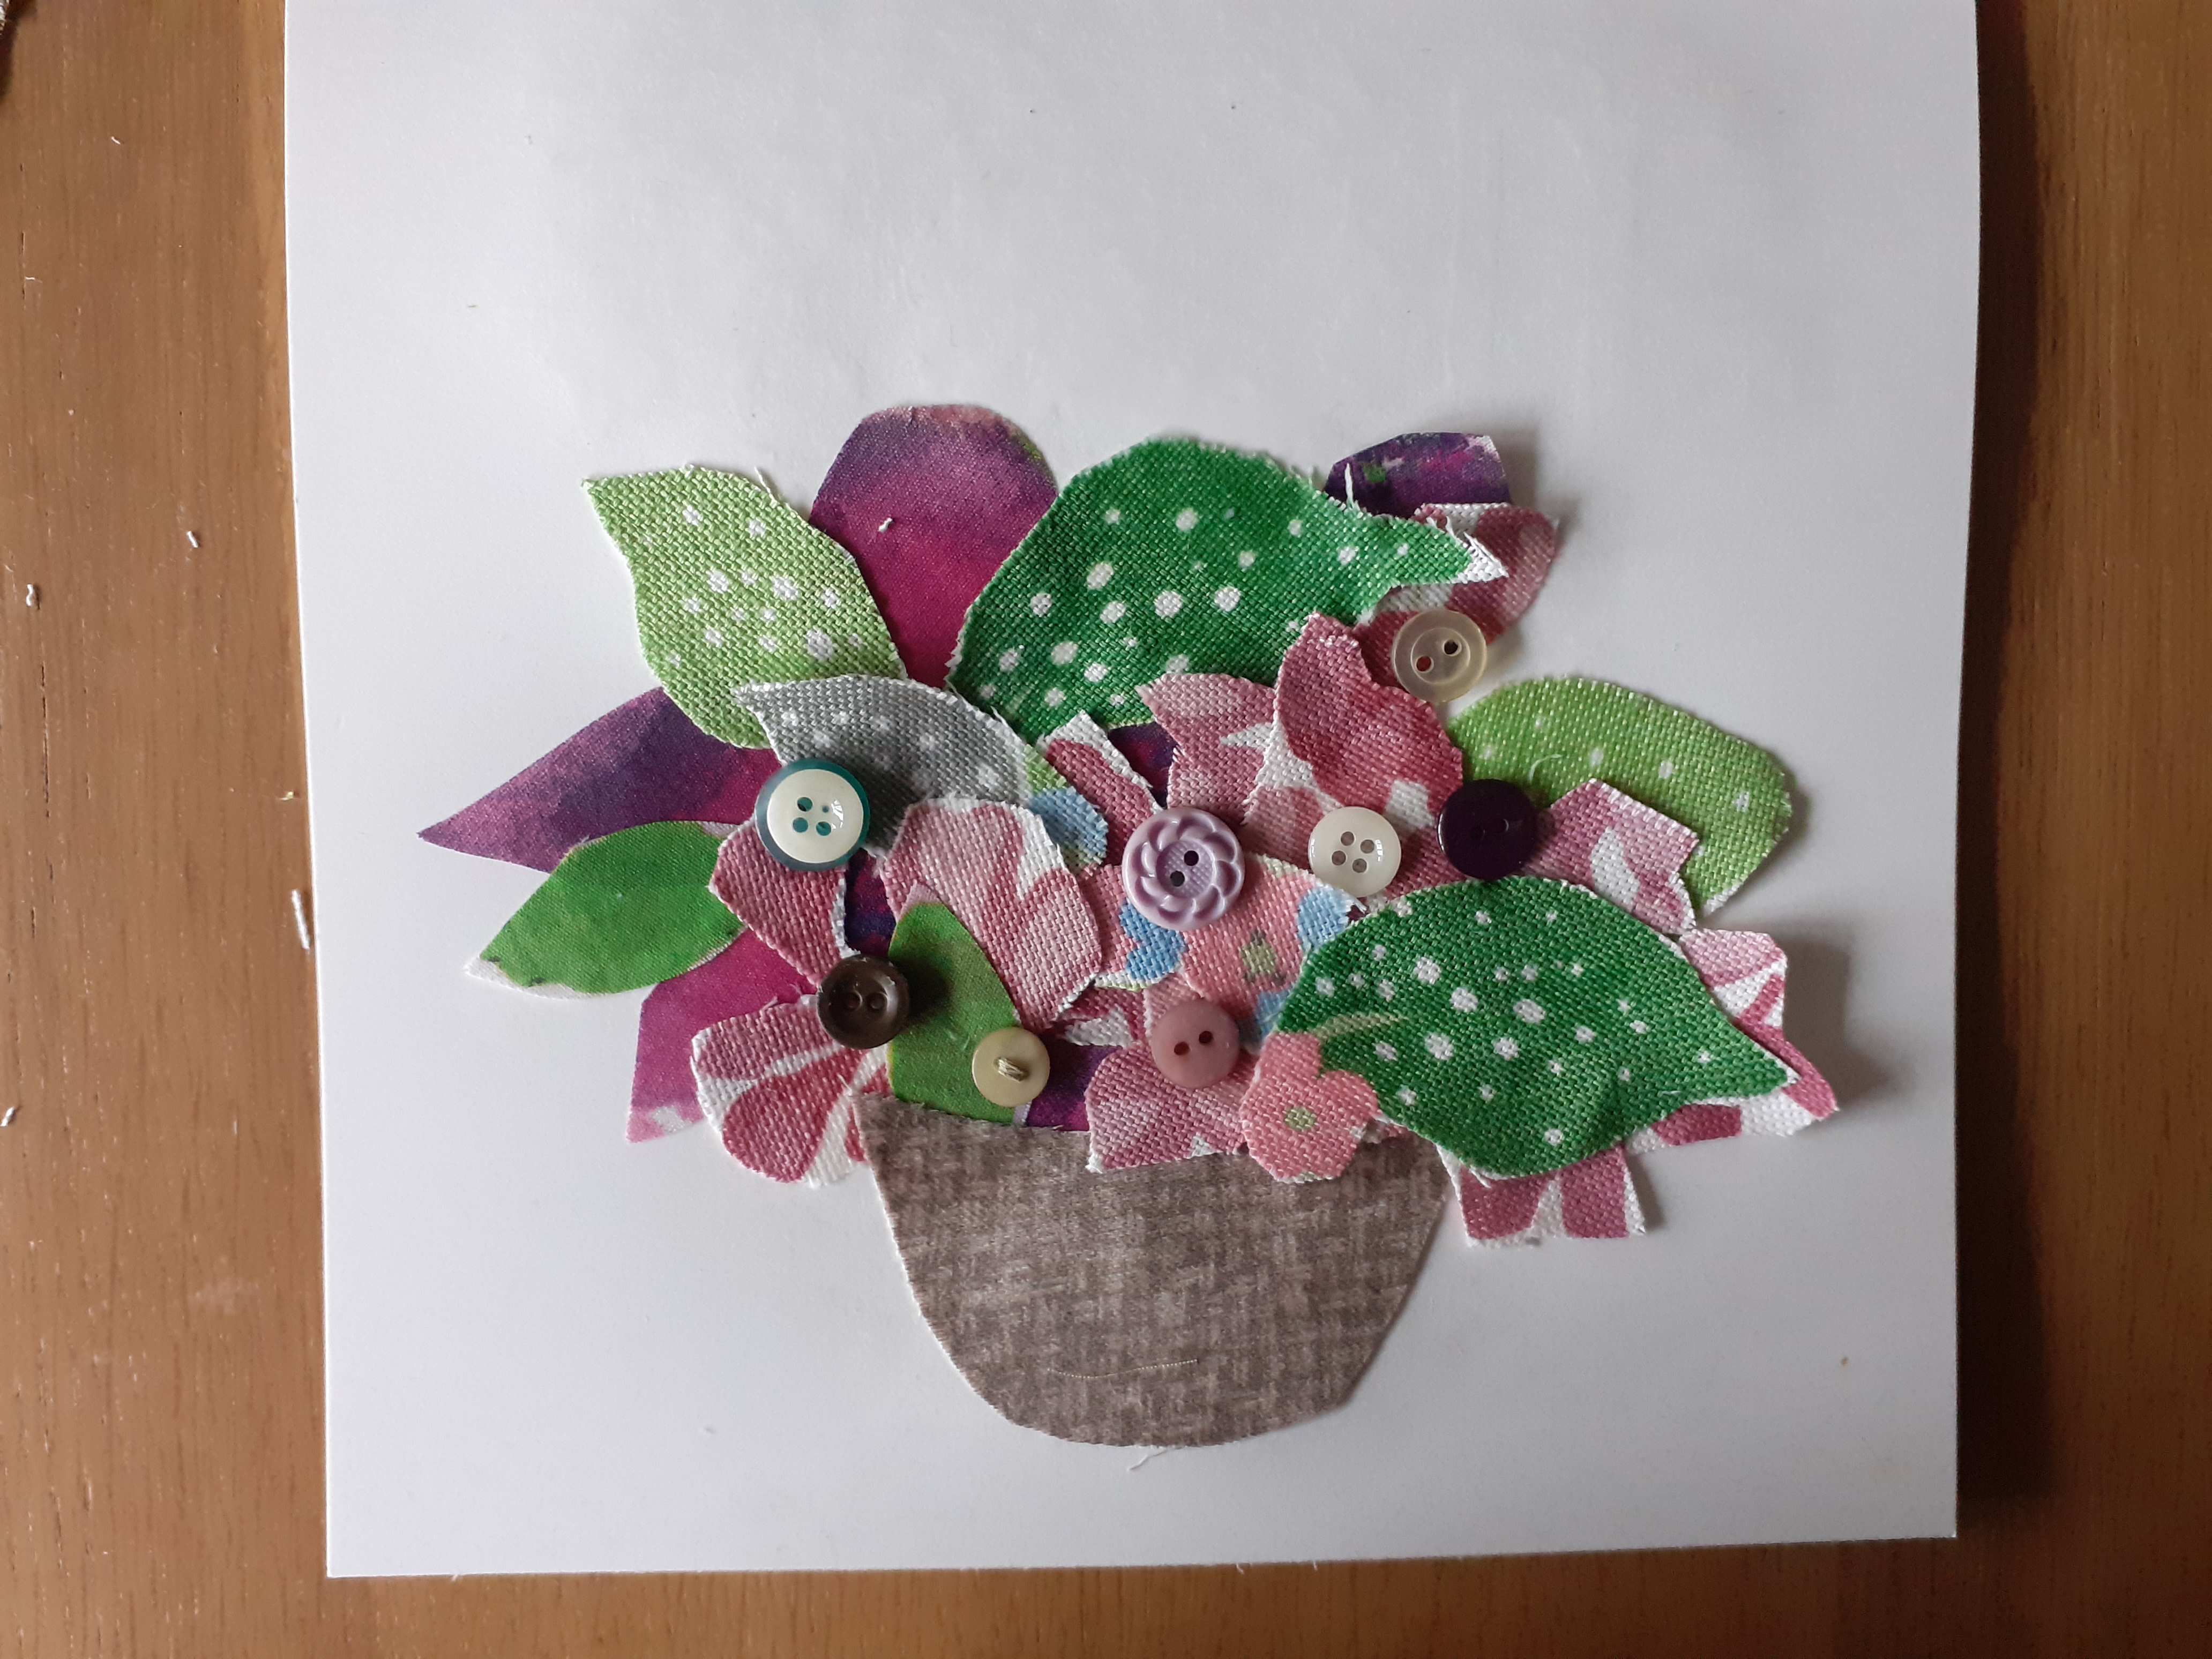
A lovely finish for some flowers is to glue a tiny button centre into some of the larger flowers. If you have any.
It’s best to keep the folded edge at the TOP of the card, but if it’s quite sturdy you could fold down the left. You don’t want it so heavy that the card won’t stand up! If crafting this to go straight into a frame then still use card, as paper may pucker up once glued.